
Growing your own reishi mushrooms at home is an exciting journey that connects you with ancient traditions and modern wellness. Known as the “mushroom of immortality” in Asia, reishi is famous for its use in teas, tinctures, and supplements. Many people want a personal supply, but few understand what it really takes. With the right steps, patience, and a clear plan, you can harvest these powerful mushrooms right from your living room or backyard. This guide will walk you through everything—tools, substrate, inoculation, care, and even harvesting—so you can succeed, even if you are a total beginner.
Why Grow Reishi Mushrooms At Home?
Choosing to grow reishi mushrooms at home comes with unique advantages. First, you control every step, so you know exactly what you’re consuming—no pesticides, no unknown additives. Freshly grown reishi also delivers more active compounds than most store-bought powders. Having your own supply saves money, especially if you use reishi regularly for teas or extracts. There’s also a deep satisfaction in watching a tiny spore become a beautiful, glossy fungus.
Growing reishi can also teach you about patience, observation, and the natural world. Unlike some mushrooms, reishi does not appear overnight; it rewards those who learn and adapt. Many growers find the process meditative, and some even turn it into a family project.
For those interested in herbal medicine or permaculture, reishi offers a meaningful way to deepen your knowledge.
Another reason to consider growing at home: you avoid the common pitfalls of store-bought reishi, such as low potency, unknown origins, or high prices. Sometimes, commercial reishi is harvested too early, or processed in ways that reduce its quality. By growing your own, you ensure that you’re harvesting at peak maturity and getting the maximum benefits.
Many people also enjoy the eco-friendly aspect of home cultivation. You can reuse logs or sawdust, cut down on packaging waste, and even compost spent substrate. This adds another layer of satisfaction and sustainability to your project.
What Makes Reishi Mushrooms Special?
Reishi (Ganoderma lucidum) has a long history in traditional Chinese medicine. Its active compounds—like triterpenes and polysaccharides—are linked to immune support and stress reduction. Scientific studies are ongoing, but reishi’s reputation continues to grow worldwide. Unlike common mushrooms, reishi’s fruiting body looks like a lacquered red fan and grows slowly, sometimes taking months to reach maturity.
Another unique point: reishi is a wood-loving fungus. It needs a rich, lignin-based substrate to thrive, which sets it apart from button or oyster mushrooms that grow on straw or compost. This means your approach to growing reishi must be a bit different and more deliberate.
Reishi’s appearance is another standout quality. Its cap is shiny and hard, almost like it’s been painted with varnish. This glossy layer is actually a protective coating, and its rich red-brown color is one of the ways to identify mature, healthy reishi.
The mushroom’s stem and shape can change based on growing conditions, adding to its mystique.
The health benefits are also a big draw. Some people use reishi for sleep support, energy, or as part of a daily wellness routine. While the flavor is strong and slightly bitter, many users find that regular use brings a sense of balance and calm.
If you like to experiment with herbal remedies, growing your own reishi lets you try different preparations and find what works best for you.
Understanding The Reishi Mushroom Life Cycle
Before you start, it helps to understand how reishi mushrooms grow. Their life cycle is more complex than the typical button mushroom. Reishi begins as microscopic spores, which germinate and form mycelium—a white, thread-like network that digests wood and nutrients. When conditions are right, the mycelium produces a “pin”—a tiny bump that grows into the familiar fan-shaped mushroom.
This process can take 2 to 5 months depending on your setup and climate. The slow growth is one reason reishi is prized. It also means you need to plan ahead, especially if you want a steady supply.
A key detail is that reishi spends most of its life as mycelium, hidden inside wood or substrate. Only when the mycelium has “eaten” enough and senses the right temperature, humidity, and air flow will it start to fruit. Beginners sometimes get impatient during this phase, but this hidden growth is where the mushroom builds up its energy and medicinal compounds.
Another important stage is sporulation. As reishi matures, it releases brown spores from the underside of its cap. These spores are packed with nutrients and are sometimes collected for supplements. If you see a fine brown dust around your mushrooms, it’s a sign they are mature.
Understanding this cycle helps you troubleshoot problems. For example, if you see mycelium but no pins after several months, it may be too dry, too cold, or not enough fresh air is reaching your block or log.
Choosing The Right Reishi Strain
Not all reishi mushrooms are the same. The most popular is Ganoderma lucidum, but there are close relatives like Ganoderma tsugae (hemlock reishi) and Ganoderma multipileum (tropical reishi). Each has a slightly different appearance and substrate preference.
When buying spawn or cultures, check:
- The species—Ganoderma lucidum is best for most home growers.
- The source—Buy from a reputable supplier to avoid contamination.
- Whether the strain is meant for fruiting (making mushrooms) or just mycelium (for extracts).
Some suppliers sell spore syringes, but for beginners, grain spawn or plug spawn is easier and more reliable.
It’s also worth noting that some strains are bred for faster colonization, higher yields, or resistance to common contaminants. Ask your supplier if the strain is suitable for your chosen method (logs, sawdust blocks, or jars). If you live in a very warm or humid area, a tropical strain like Ganoderma multipileum may perform better.
If you plan to try outdoor growing, make sure the strain is adapted to your climate. For example, Ganoderma tsugae is more cold-tolerant and does well in northern regions.
What You Need To Grow Reishi At Home
Getting started with reishi mushrooms requires some basic supplies, but you don’t need a laboratory. Here’s what you’ll need:
- Reishi spawn (grain or plugs)
- Substrate (hardwood sawdust, logs, or sterilized blocks)
- Containers (grow bags, buckets, or jars)
- Sterile tools (knife, gloves, rubbing alcohol)
- Water mister
- Thermometer and hygrometer (to monitor temperature and humidity)
- Work area (clean, with minimal drafts)
If you’re growing on logs outdoors, you’ll also need a drill and wax for sealing holes. Indoor growers often use autoclave bags or plastic buckets with lids.
Adding a few more practical tips: a spray bottle with a fine mist setting is ideal for keeping humidity high without soaking the substrate. For indoor growers, a small fan can help with air circulation, which prevents mold and helps mushrooms form properly. If you want to get more advanced, a simple humidity tent (a clear plastic bag or tub) can help keep moisture in during fruiting.
Substrate Options
Reishi needs a lignin-rich substrate. The most common choices:
- Hardwood logs: Oak, maple, beech, or elm are best.
- Sawdust blocks: Usually a mix of hardwood sawdust, wheat bran, and water.
- Sterilized wood chips: For some indoor methods.
Avoid softwoods like pine—they contain resins that can inhibit growth.
Sawdust blocks are the easiest for most beginners. You can buy pre-made blocks or make your own. Some growers add a small amount of gypsum (calcium sulfate) to help balance nutrients and pH, but this is optional.
If you’re using logs, make sure they are freshly cut—ideally within a month. Older logs may be contaminated with other fungi or too dry for good colonization.
Spawn Types
- Grain spawn: Colonized rye or millet grains. Fast and good for sawdust blocks.
- Plug spawn: Wooden dowels covered with mycelium. Best for logs.
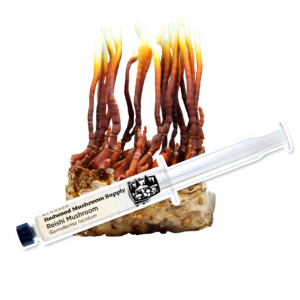
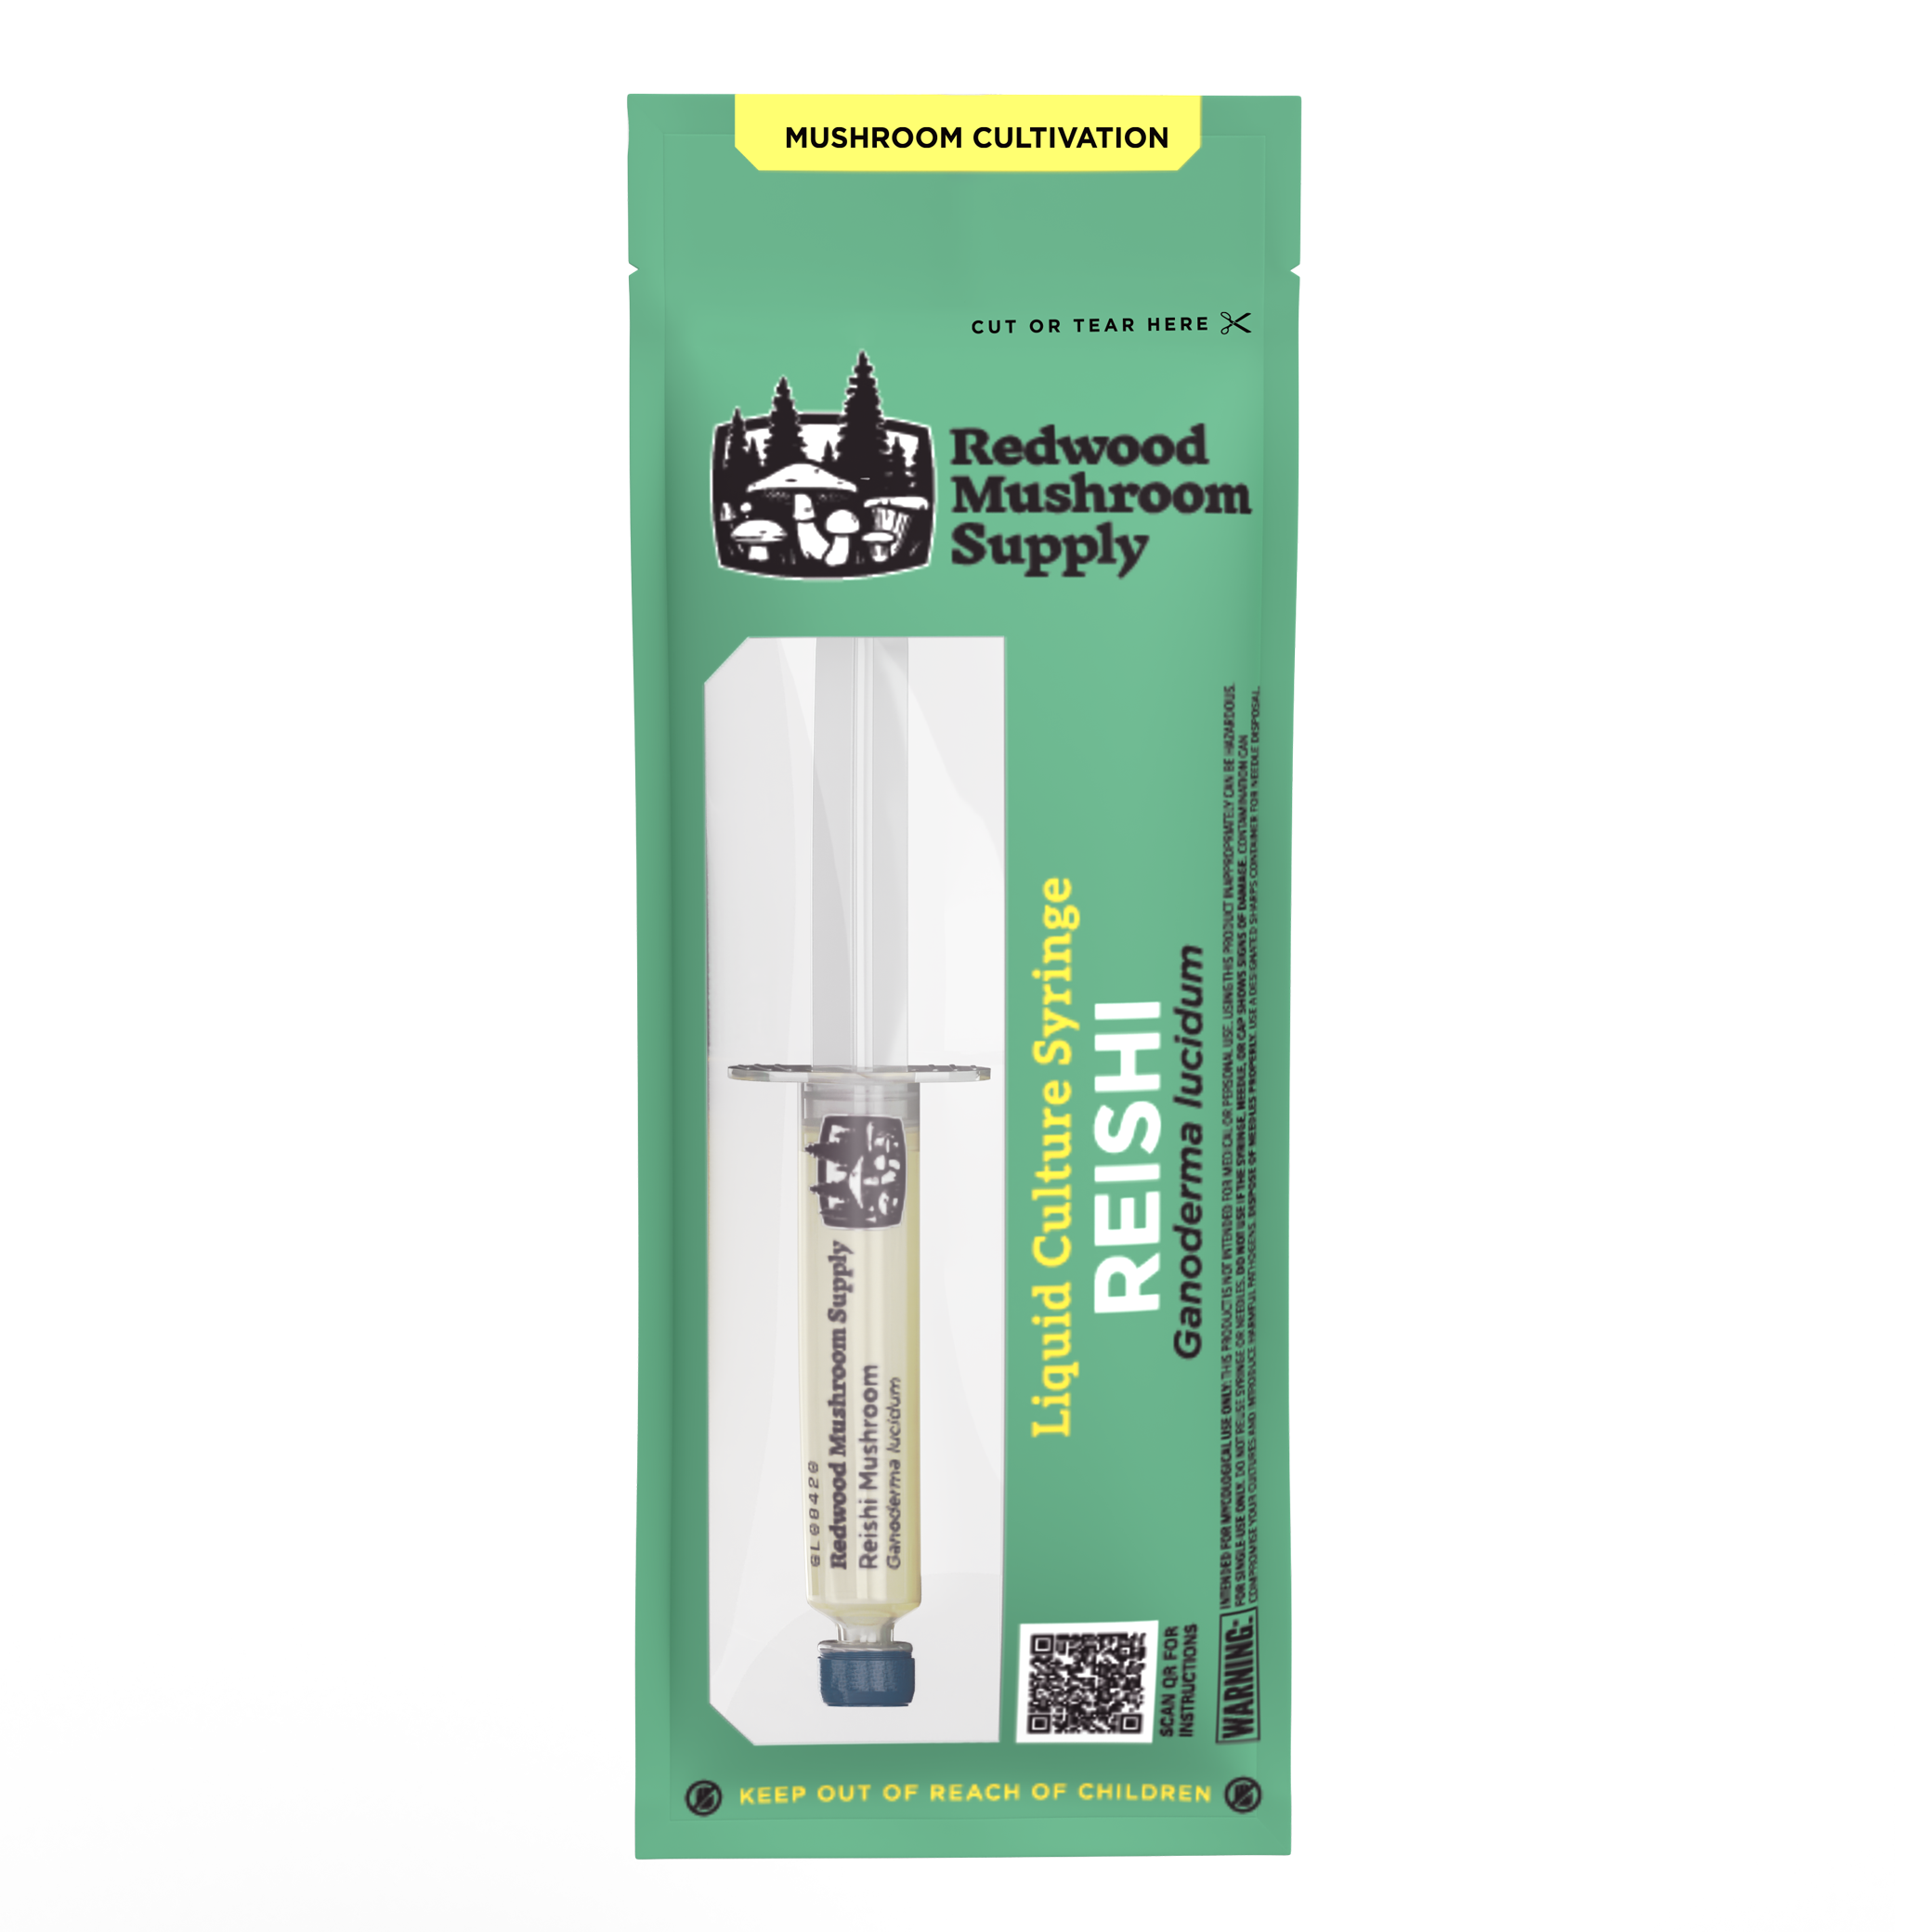
- Liquid culture: For more advanced users.
Beginners usually have the most success with grain spawn on sawdust or plug spawn on logs.
Grain spawn is also good for experimenting, as you can divide it among several small blocks and try different conditions. Plug spawn is less risky for contamination and is easy to handle, especially for families or group projects.
Indoor Vs. Outdoor Growing: Which Is Better?
Both methods work, but each has its own challenges.
Indoor Growing
- Pros: More control over conditions, year-round harvest possible, fewer pests.
- Cons: Requires space, equipment, and attention to cleanliness.
Indoor growing is perfect if you have a small apartment or want to grow mushrooms in winter. It’s also easier to keep an eye on the process and troubleshoot problems quickly. However, it can get messy, so set up a dedicated area with a tray or mat to catch spills.
Outdoor Growing (logs)
- Pros: Low maintenance, larger harvests, less equipment.
- Cons: Takes longer (up to a year), seasonal harvests, risk from pests and weather.
Outdoor growing is more “set and forget. ” Once your logs are inoculated and placed, you only need to check them occasionally and water during dry spells. The harvest is often larger and continues for several years from the same logs.
However, you are at the mercy of weather and wildlife, so some loss is expected.
Beginners often start indoors to understand the basics, then expand outdoors for greater yields.
Here’s a quick side-by-side comparison:
| Factor | Indoor | Outdoor (Logs) |
|---|---|---|
| Setup Cost | Medium | Low |
| Time to Harvest | 2-5 months | 8-14 months |
| Harvest Size | Small–Medium | Large |
| Skill Level | Beginner–Intermediate | Beginner |
| Pest Risk | Low | Medium–High |
If you have outdoor space and patience, try both methods. They complement each other well.
Step-by-step: Growing Reishi Indoors On Sawdust Blocks
This method gives you the most control and is perfect for small spaces.
1. Preparing The Substrate
You’ll need hardwood sawdust (not pine), wheat bran, and water. A common formula:
- 5 kg hardwood sawdust
- 1 kg wheat bran
- 2.5 liters water
Mix well until the substrate is damp but not soggy. If you squeeze a handful, it should clump but not drip.
Transfer the mix to autoclave bags or large jars. Seal loosely to allow steam to escape.
For best results, use fine sawdust and mix thoroughly so nutrients are even. Some people also add a teaspoon of gypsum to balance minerals, but it’s not required for beginners.
2. Sterilizing
Sterilization kills bacteria and wild fungi. Use a pressure cooker at 15 psi for 2 hours. If you don’t have one, you can pasteurize in a large pot for 2–3 hours, but results may vary.
Let the substrate cool to room temperature before inoculating.
If you’re making multiple blocks, label each bag or jar with the date. This helps you track progress and spot any slow-growing batches.
3. Inoculating With Spawn
In a clean area, wash your hands and wipe tools with rubbing alcohol. Break up your grain spawn and mix it into the cooled substrate (about 5–10% by volume).
Seal the bags or jars and poke a few tiny holes for air exchange.
Try to mix the spawn as evenly as possible. This speeds up colonization and reduces the risk of contamination. If you’re using jars, leave about 2–3 cm of space at the top to allow for gas exchange.
4. Incubation
Place your bags or jars in a dark, warm spot—ideally 23–27°C (73–80°F). Over 2–4 weeks, white mycelium will spread through the substrate.
Check daily for contamination (green, black, or foul smells). Discard any infected blocks.
You may notice the substrate heating up slightly as mycelium grows—this is normal. If you see condensation, gently wipe the inside of the bag or jar to avoid excess moisture.
5. Fruiting Conditions
Once the block is fully colonized, move it to a spot with indirect light. Slice the bag open or remove the lid to expose the surface.
Mist with water 1–2 times a day to keep humidity above 80%. Keep temperature around 21–26°C (70–79°F).
Within 2–4 weeks, “antler” shapes will appear—these are young reishi mushrooms. As they mature, they form fans and develop their shiny red surface.
If your air is very dry, you can make a simple humidity tent by placing a clear plastic bag over the block (leave one side open for air). This helps maintain moisture for better fruiting.
6. Harvesting
When the edges of the caps stop growing and turn white or yellow, your reishi is ready. Cut them at the base with a clean knife.
Dry immediately for storage—use a food dehydrator or a warm, dry spot.
If you miss the window and the mushrooms release spores, don’t worry—just harvest and dry as usual. The potency will still be high.
Non-obvious Tips For Indoor Success
- Use a hydrometer to avoid over-misting. Too much water can cause rot.
- If you see “antlers” but no fans, increase light exposure. Reishi fan shapes need indirect light, not darkness.
- Rotate your blocks every few days to ensure even growth.
Also, avoid placing blocks near direct sunlight or heaters—these can dry out or overheat your mushrooms. If you see yellowing or browning of the mycelium, check humidity and airflow first.
Step-by-step: Growing Reishi Outdoors On Logs
Outdoor cultivation is more hands-off but requires patience.
1. Selecting Logs
Choose healthy hardwood logs, 10–20 cm (4–8 inches) in diameter and about 1 meter (3 feet) long. Oak is best, but maple or beech also work.
Cut logs in late winter or early spring, when trees are dormant.
Freshly cut logs contain more nutrients and moisture, giving your mycelium the best start. Bark should be intact to protect the log from drying and contamination.
2. Drilling And Inoculation
Drill holes 1. 5 cm (½ inch) wide and 4 cm (1½ inches) deep, spaced every 15–20 cm (6–8 inches) along the log.
Insert plug spawn into each hole and tap gently with a hammer.
If you’re using sawdust spawn, pack it tightly into the holes using a small dowel or tool. The more spawn you use, the faster your log will colonize.
3. Sealing
Seal each hole with hot cheese wax or beeswax. This keeps out pests and moisture.
You can melt wax in a small pot and apply with a brush or small spoon. Don’t skip this step—open holes invite contamination and pests.
4. Placement
Stack logs in a shady, moist area—under trees or next to a north wall. Water logs during dry spells to keep them from drying out.
Lay logs on the ground or lean them against something so that rainwater can drain off. If you’re in a hot climate, cover logs with leaves or straw to maintain humidity.
5. Waiting
Colonization takes 8–14 months. Check logs occasionally for mold or insect damage.
You might see white mycelium at the ends of logs after a few months. This is a good sign that colonization is underway. Patience is key—do not move or disturb logs too often.
6. Fruiting
When reishi begins to form, you’ll see small reddish fans at the log ends. Harvest when caps are mature and edges turn lighter.
If you want to trigger fruiting, soak the log in water for 24 hours after the first year. This mimics natural rainfall and can help “wake up” the mycelium.
Outdoor Growing Insights
- Do not use logs from dead or diseased trees. Freshly cut wood gives better results.
- If your area is very dry, lay a tarp over the logs to retain moisture, but don’t cover completely (logs need air).
Also, avoid placing logs where water will pool or where rodents can easily chew on them. If you notice slugs or beetles, consider using copper tape or mesh barriers.
Credit: www.leftcoastwholesale.com
Common Problems And How To Avoid Them
Even experienced growers run into challenges. Here are the most common issues and their fixes.
Contamination
Green mold or black spots mean contamination. This usually happens if tools or substrate are not sterile.
- Always sterilize your substrate.
- Work with clean hands and tools.
- If you see contamination, remove the block or log immediately.
If you notice contamination early, you can sometimes cut away the affected part and continue. But if it’s spreading or smells bad, discard the whole batch.
Poor Fruiting
If no mushrooms form after months, check:
- Light: Reishi needs indirect light to form the fan shape.
- Humidity: Keep above 80%. Dry air slows growth.
- Temperature: Too cold or hot will stall the mycelium.
Also, check your spawn quality. Old or weak spawn may not colonize well, leading to poor results.
Deformed Growth
If you see long, thin “antlers” but no fans:
- Increase light exposure.
- Make sure air is circulating gently.
Thin, twisted growth can also be a sign of low humidity or poor substrate nutrition.
Pests
Slugs and beetles can attack outdoor logs. Wrap logs with fine mesh if pests are a problem.
For indoor growers, fungus gnats can be an issue if your humidity is too high. Use sticky traps or let the surface dry slightly between mistings.
Harvesting And Drying Your Reishi Mushrooms
Harvesting reishi is straightforward, but timing matters for potency.
- When the edges of the caps stop growing and turn pale, use a sharp, sterile knife to cut the mushrooms at the base.
- Wipe off any dirt or debris.
- Dry immediately. Fast drying helps preserve active compounds and prevents mold.
Drying Methods
- Food dehydrator: Set to 40–45°C (104–113°F). Dry until pieces snap, not bend.
- Oven: Use lowest setting, door slightly open.
- Air drying: Place mushrooms on a rack in a well-ventilated, dry room.
For larger pieces, slice before drying to speed up the process. If you live in a humid area, use a dehydrator to avoid mold.
Store dried reishi in airtight jars, away from light and heat.
Yield Expectations
Yield varies by method:
| Method | Expected Yield | Time to First Harvest |
|---|---|---|
| Indoor (Block) | 100–250 grams per block | 2–5 months |
| Outdoor (Log) | 500–1200 grams per log (over 2 years) | 8–14 months |
Keep in mind that yields depend on substrate quality, strain, and growing conditions. With practice, you’ll learn how to maximize your harvests.

Credit: highdesertspores.com
Using And Storing Homegrown Reishi
Reishi is not a culinary mushroom—it’s too tough and woody to eat directly. Most people use reishi for teas, tinctures, or extracts.
Making Reishi Tea
- Break dried mushroom into small pieces.
- Simmer 5–10 grams in 1 liter of water for 2 hours.
- Strain and drink.
The taste is earthy and slightly bitter. Add ginger or honey if desired.
For a stronger tea, simmer for up to 4 hours, adding water if needed. You can also brew a large batch and refrigerate for up to a week.
Making Tincture
- Fill a glass jar halfway with dried, chopped reishi.
- Cover with 40% alcohol (like vodka).
- Let sit for 4–6 weeks, shaking occasionally.
- Strain and store in a dark bottle.
Tinctures are a good way to extract both alcohol-soluble and water-soluble compounds. Some people do a two-step process: alcohol extraction, then water extraction, and combine the two for a “double extraction.”
Storage Tips
- Store dried reishi in airtight containers.
- Keep away from sunlight and heat.
- Properly dried, reishi will last for 1–2 years.
For tinctures, use amber glass bottles to protect from light. Label with the date and strain for easy reference.
Safety And Precautions
Reishi is generally safe for most people, but always consult a doctor if you have allergies, are pregnant, or take medication.
- Start with small doses.
- Watch for digestive upset or allergic reactions.
- Do not use wild mushrooms unless you are 100% sure of identification.
Reishi can interact with blood-thinning medications or immune-modulating drugs. If you have a medical condition, check with your healthcare provider first.
Scaling Up: From Hobby To Larger Harvests
Many growers find reishi so rewarding that they want to scale up. If you plan to grow more:
- Invest in a pressure sterilizer for consistent results.
- Use larger batches of sawdust blocks or more logs.
- Consider a small greenhouse or grow tent to better control environment.
But remember: reishi grows slowly. Don’t overcommit before you’ve mastered small batches.
If you want to sell or share your harvest, learn about local regulations for selling medicinal mushrooms. Keep good records of your process to ensure consistency and safety.
Reishi Vs. Other Medicinal Mushrooms
If you’re considering other mushrooms, here’s how reishi compares:
| Mushroom | Growth Time | Main Benefits | Ease of Growing |
|---|---|---|---|
| Reishi | 2–12 months | Immune, stress support | Medium |
| Lion’s Mane | 1–2 months | Brain health, nerves | Easy |
| Turkey Tail | 3–6 months | Immune support | Medium |
| Oyster | 1–2 months | Edible, immune support | Easy |
Reishi is slower but more potent for long-term wellness. Lion’s mane and oyster mushrooms are faster and easier if you want a quick, edible harvest.
Two Non-obvious Insights For Beginners
- Light is crucial for proper shape: Many first-timers think mushrooms grow best in darkness. Reishi needs indirect light to form its classic fan shape. Without light, you get “antlers”—long, thin, less potent forms.
- Patience pays off: Fast growth usually means something is wrong, like contamination or too much heat. Healthy reishi grows slowly. If your mycelium is taking time, that’s usually a good sign.
An extra tip: don’t ignore air circulation. Stale air leads to odd shapes and poor spore production. A little fresh air (not wind) can make a big difference.
Troubleshooting: What To Do When Things Go Wrong
Even careful growers hit problems. Here’s what to check:
- No growth at all: Spawn may be dead. Try a different supplier.
- Too much moisture: If your block feels slimy, reduce misting.
- Foul smell: Discard immediately—this means contamination.
- Pins form, but then stop: Check humidity and temperature. If both are OK, increase fresh air.
If you’re growing on logs and see no growth after a year, the wood may have dried out or been colonized by another fungus first. Re-soak the logs and wait another season before giving up.
Credit: www.leftcoastwholesale.com
Where To Buy Reishi Spawn And Supplies
Always use a trusted supplier. Look for mycology shops, online mushroom supply stores, or local growers’ cooperatives. Buy only from sellers who test their spawn for contaminants and clearly label the species.
For more details about reishi cultivation and scientific research, see this Wikipedia article on Ganoderma lucidum.
Frequently Asked Questions
How Long Does It Take To Grow Reishi Mushrooms At Home?
Growing reishi mushrooms indoors usually takes 2 to 5 months from inoculation to harvest. Outdoor log cultivation takes longer—8 to 14 months before you see your first mushrooms. Patience is essential for good results.
Can I Grow Reishi Mushrooms On Coffee Grounds?
Reishi prefers hardwood-based substrates like sawdust or logs. Coffee grounds do not provide the right structure or nutrients. For best success, use hardwood sawdust, logs, or specially prepared blocks.
Is Reishi Safe To Eat Fresh?
Reishi mushrooms are too tough and woody to eat like button or oyster mushrooms. Most people dry reishi and use it for teas, tinctures, or extracts. Eating small amounts fresh is not dangerous, but it is not enjoyable or common.
Why Are My Reishi Mushrooms Growing In Strange Shapes?
If your reishi mushrooms are long, thin, and antler-shaped, they likely need more light. Reishi forms its classic fan shape only with indirect light and proper humidity. Adjust your setup to increase light exposure.
What’s The Best Way To Store Dried Reishi?
Store your dried reishi mushrooms in an airtight container in a cool, dark place. Properly dried reishi can last for 1–2 years without losing potency.
Growing your own reishi mushrooms is a rewarding project that brings together tradition, science, and hands-on learning. With the steps and tips in this guide, you’ll have the confidence to start your own supply and enjoy the benefits of homegrown reishi for years to come.