
Growing mushrooms at home has become a popular hobby and even a small business idea for many people around the world. Mushrooms are unique because they need very specific conditions to grow well: the right temperature, humidity, fresh air, and light. Trying to control all of these factors by hand can be stressful and time-consuming. This is where automation and smart controllers come in. With a well-designed automated mushroom growing tent, you can create the perfect environment for your mushrooms—without having to check on them every few hours. Not only does automation save you time, but it also boosts your chances of a big, healthy harvest.
This guide is for anyone who wants to take their mushroom growing to the next level. Whether you’re a beginner or someone looking to upgrade your setup, you’ll find clear steps, expert advice, and practical examples. You’ll learn how to choose the right tent, set up smart controllers, and connect everything for a reliable, hands-off system.
Along the way, you’ll see common mistakes and how to avoid them, plus a few pro tips that even experienced growers sometimes miss.
Understanding The Basics Of Mushroom Cultivation
Before you start building your automated tent, it’s important to understand the basics of mushroom cultivation. Mushrooms are not like plants; they are fungi, and their needs are unique. They grow from spores or mycelium (the vegetative body of a fungus), and each type of mushroom has its own ideal conditions.
Most commonly cultivated mushrooms—such as oyster, shiitake, and button mushrooms—require:
- Temperature: Usually between 18°C and 25°C (64°F to 77°F)
- Humidity: High (80% to 95%) for fruiting
- Fresh Air Exchange (FAE): To avoid CO₂ buildup, which can deform mushrooms
- Light: Indirect light or low-intensity artificial light for proper growth
Missing any one of these factors can result in poor yields or even crop failure. Many beginners focus only on temperature and humidity, but fresh air and light cycles are just as important.
Why Automate Your Mushroom Growing Tent?
Manual control works for small, experimental grows, but as soon as you want consistency, automation is the answer. Automation helps you:
- Maintain precise conditions: Sensors and controllers react instantly to changes.
- Save time: No need to check and adjust settings every few hours.
- Improve yield and quality: Consistent environments lead to healthier mushrooms.
- Reduce mistakes: Automation minimizes human error, like forgetting to mist or ventilate.
Many commercial growers rely on automated systems for these reasons. Even for home growers, smart controllers are now affordable and easy to set up.
Planning Your Automated Mushroom Growing Tent
A successful automated mushroom tent starts with good planning. Here’s what you need to think about before you buy any equipment or start building.
Choosing The Right Tent
Your grow tent is the foundation. It needs to be:
- Waterproof or water-resistant (mushrooms produce a lot of moisture)
- Lightproof (to control light cycles)
- Durable and easy to clean
Most people use tents designed for hydroponics or indoor gardening. A common size for beginners is 2×4 feet or 4×4 feet. Choose a size that matches the space you have and the amount of mushrooms you want to grow.
Selecting Mushrooms For Automation
Some mushrooms are easier to automate than others. Oyster mushrooms are beginner-friendly and forgiving. Shiitake and lion’s mane need more precise controls, especially for humidity and fresh air. Start with one type, then expand as you learn.
Mapping Out Your Equipment
Automation means connecting various devices:
- Sensors: Temperature, humidity, CO₂, light
- Controllers: Devices that turn equipment on or off
- Actuators: Humidifiers, fans, heaters, lights
Draw a simple diagram of your tent and decide where each piece will go. This will help you avoid overcrowding and make installation easier.
Pro Insight #1: Always plan for extra outlets and power strips. Automation often means adding more devices than you expect.
Essential Components For An Automated Mushroom Tent
Let’s look at the key parts you’ll need and why each one is important.
Grow Tent
Your tent forms the enclosed environment. Look for features like:
- Strong zippers (they will be used often)
- Metal frame for stability
- Mylar lining (reflects light inside tent)
- Vent ports for cables, fans, and tubing
Sensors
Automation relies on accurate sensors. The most important are:
- Temperature Sensor: Keeps air within the right range.
- Humidity Sensor: Ensures air stays moist enough.
- CO₂ Sensor (optional, advanced): Monitors air quality.
- Light Sensor (optional): Checks light intensity and cycles.
Some smart controllers combine multiple sensors in one device.
Smart Controllers
These are the “brains” of your tent. They read sensor data and turn equipment on or off to keep conditions ideal.
Popular types include:
- Wi-Fi smart plugs: Simple and affordable, can be controlled by apps.
- Dedicated grow controllers: More expensive but offer advanced features.
- DIY microcontrollers: Like Arduino or Raspberry Pi, for tech-savvy growers.
Pro Insight #2: Choose controllers that can be programmed with schedules and respond to sensor data, not just timers.
Humidifier
Mushrooms need high humidity, especially during fruiting. Choose a cool-mist ultrasonic humidifier with enough capacity for your tent size. Avoid warm-mist types—they can overheat the tent.
Heater (if Needed)
If your growing area is cold, a ceramic space heater with a built-in thermostat works well. Place it safely, away from water.
Fan And Ventilation
Fans move air, preventing CO₂ buildup and mold. Most tents use:
- Inline duct fan: For exhaust
- Small circulation fan: Moves air gently inside the tent
Lighting
Mushrooms don’t need strong light, but they do need a day/night cycle. LED strip lights work well and are easy to automate.
Power Supply And Safety
With multiple devices, use:
- Surge-protected power strips
- GFCI outlets (especially in humid rooms)
- Cable organizers to prevent tangles
Common Mistake: Overloading a single outlet. Always check the total wattage of your devices.
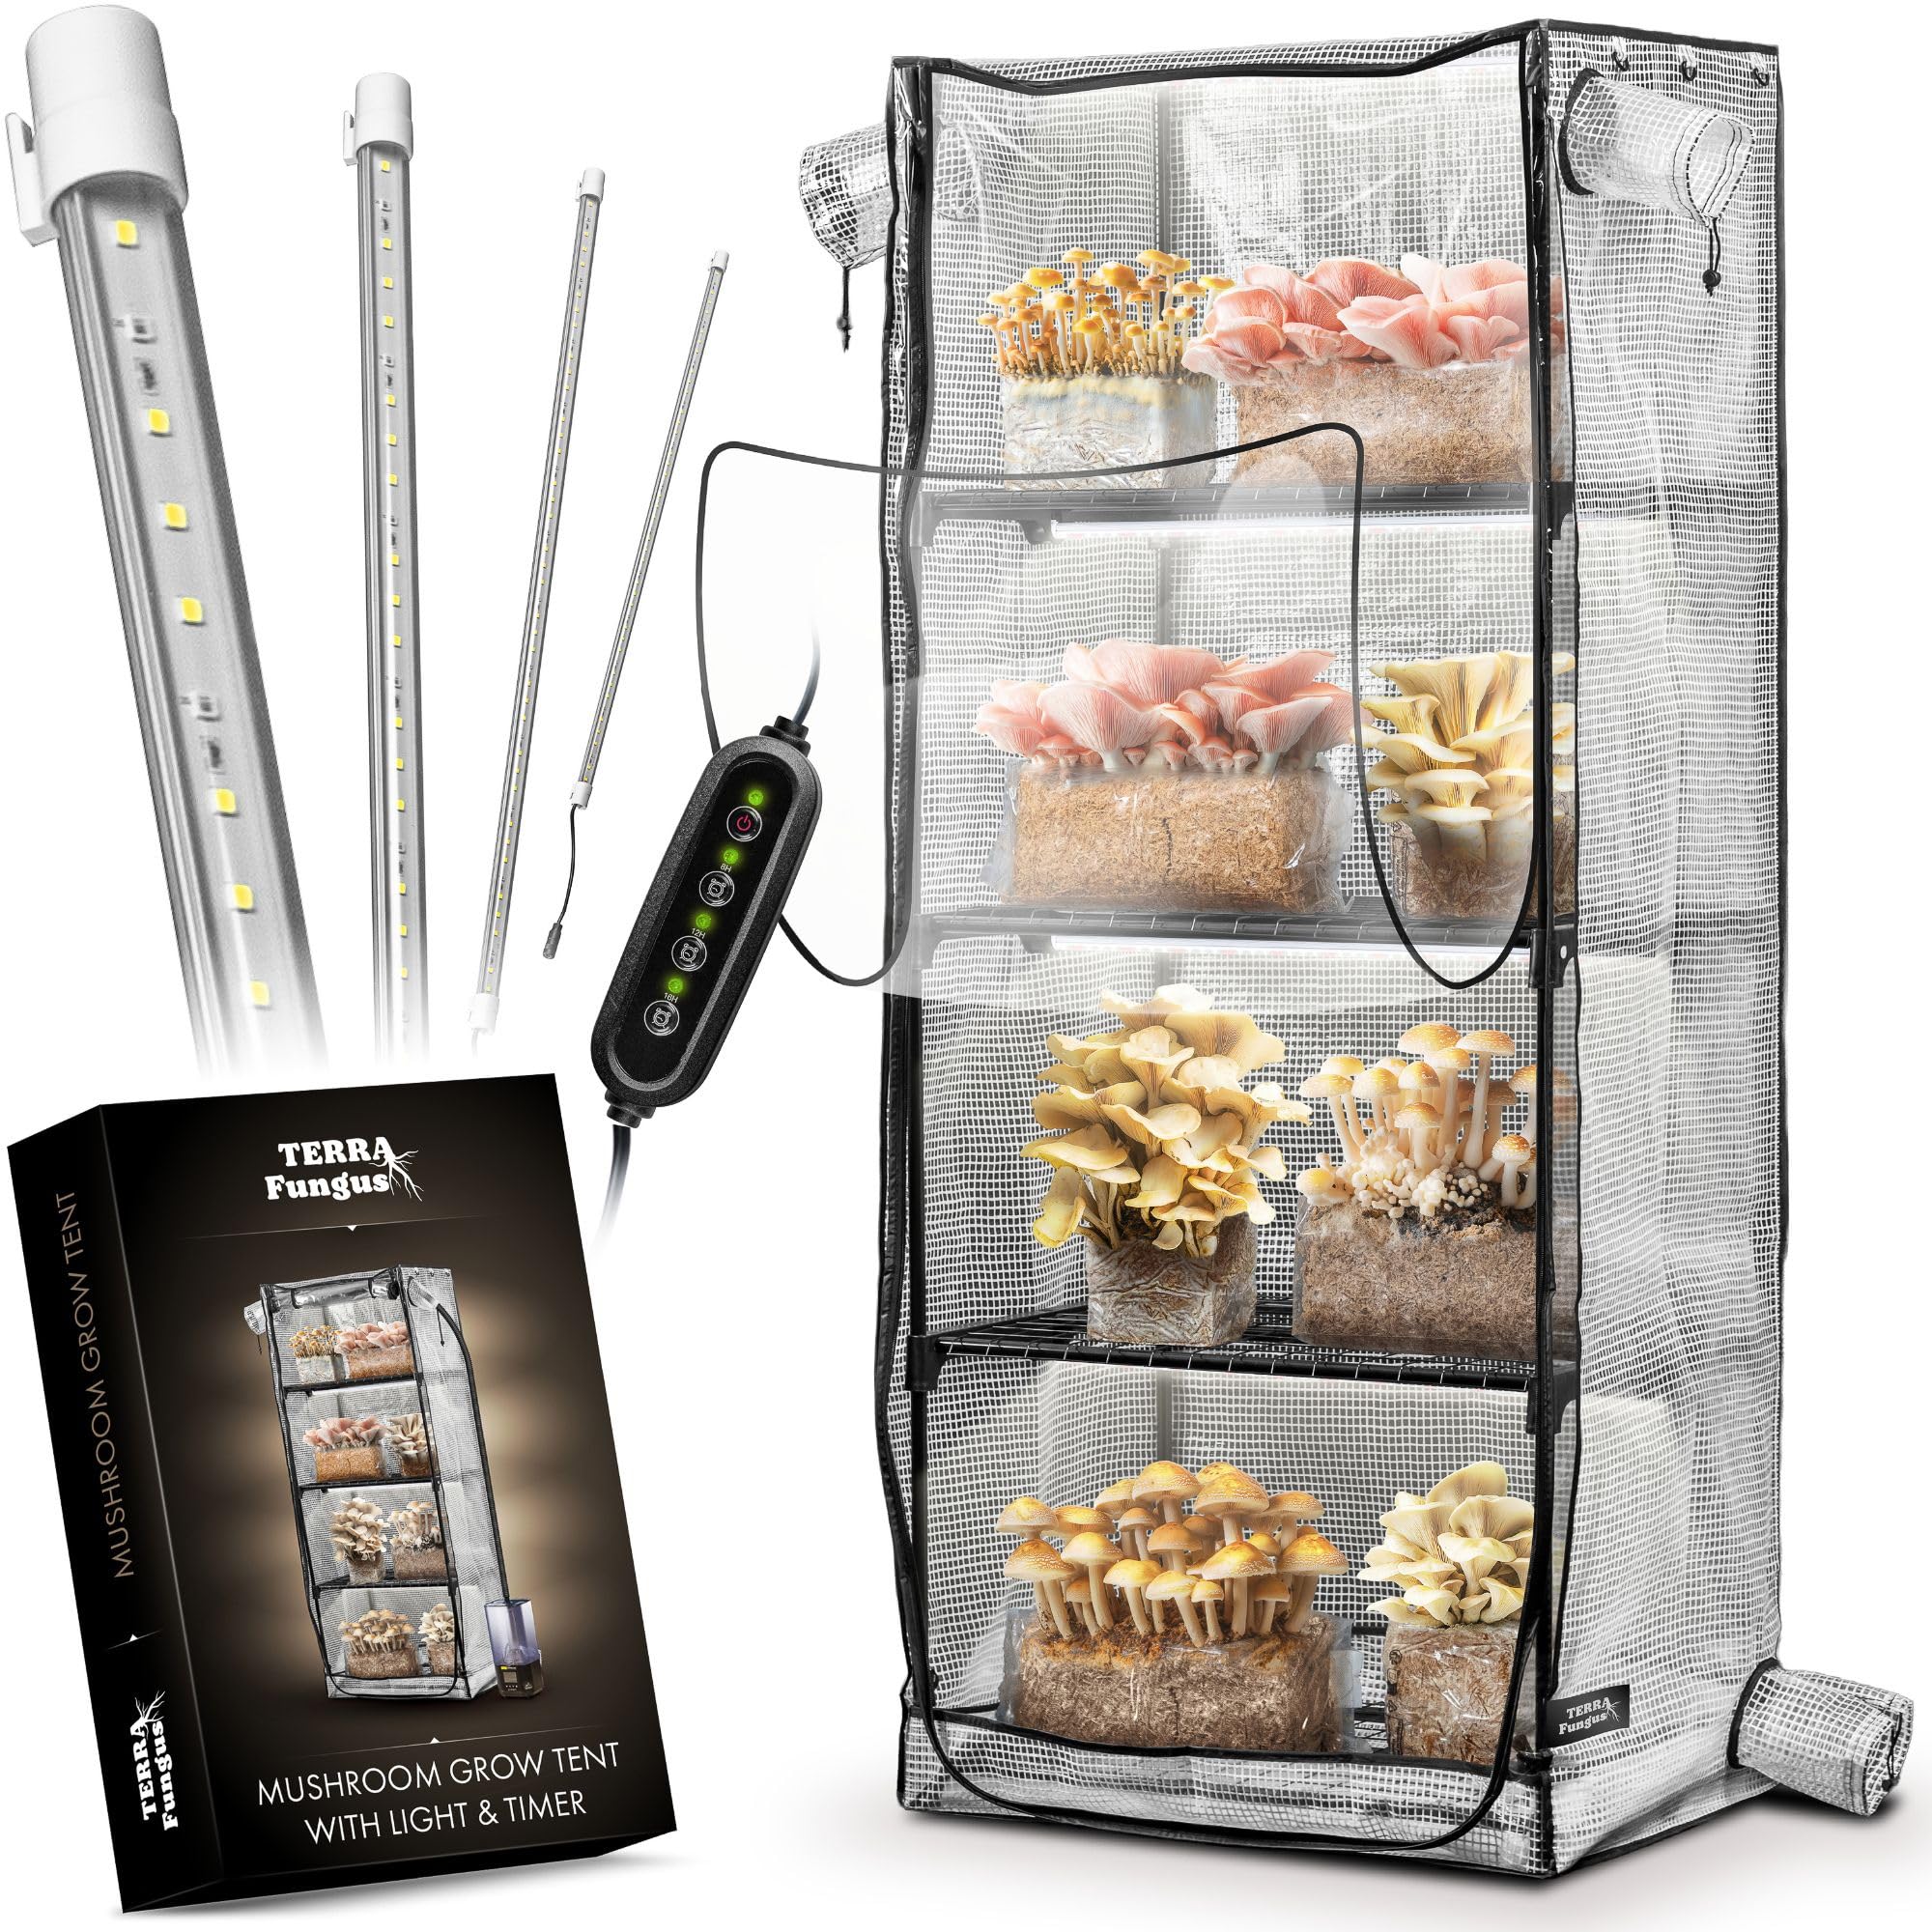
Credit: macuisineroyale.com
Building Step-by-step: Setting Up Your Automated Tent
Now, let’s go through the actual setup, from tent assembly to connecting smart controls.
1. Assemble The Tent
Set up your grow tent in a location with access to power and water. Make sure it’s on a flat, stable surface. Wipe the inside with a disinfectant to reduce contamination risk.
2. Install Sensors
Mount temperature and humidity sensors at mushroom height—not near the floor or ceiling. This gives the most accurate readings of what your mushrooms experience.
If you use CO₂ or light sensors, place them away from direct airflow or light sources.
3. Position Humidifier And Heater
- Place the humidifier near the tent’s air intake, so mist spreads evenly.
- If using a heater, keep it away from humidifiers to avoid condensation on the heater.
- Make sure both devices are on stable surfaces and cannot tip over.
4. Set Up Fans
- Install the exhaust fan in a tent vent port, leading outside if possible.
- Place a circulation fan inside, not blowing directly on the mushrooms but gently moving air.
- Connect fans to smart plugs or controllers.
5. Add Lighting
Attach LED strips or panels to the tent’s roof or sides. Set them on a timer for 12 hours on/12 hours off (or as your mushroom species requires).
6. Connect Smart Controllers
Plug each device (humidifier, heater, fans, lights) into a smart plug or controller channel. Link sensors to the controllers, following the manufacturer’s instructions. Most smart controllers have apps or web interfaces for setup.
Non-obvious tip: Label each plug and sensor. Troubleshooting is much easier if you know which device is which.
7. Calibrate And Test
Before adding mushrooms, run the system for 24 hours. Watch how the environment changes. Adjust controller settings if temperature or humidity swing too much.
Look for:
- Stable temperature and humidity
- Even air movement
- No leaks or puddles
Automation In Action: Example Scenarios
Let’s see how your setup works in practice.
Scenario 1: Humidity Drops
The humidity sensor detects levels falling below 85%. The smart controller automatically turns on the humidifier. Once the sensor reads 90%, the controller shuts the humidifier off.
Scenario 2: Temperature Rises
During the day, sunlight warms the room, and temperature hits 26°C (79°F). The controller powers on the fan and, if needed, turns off the heater. When temperature drops back to target, the fan slows or stops.
Scenario 3: Co₂ Buildup Detected
If you use a CO₂ sensor, the controller can trigger more fresh air exchange. This prevents mushrooms from developing long, weak stems (a common problem).
Bonus Tip: Use data logs from your controllers to spot trends and make improvements. For example, you might notice that humidity drops faster when the tent is full of mushrooms.
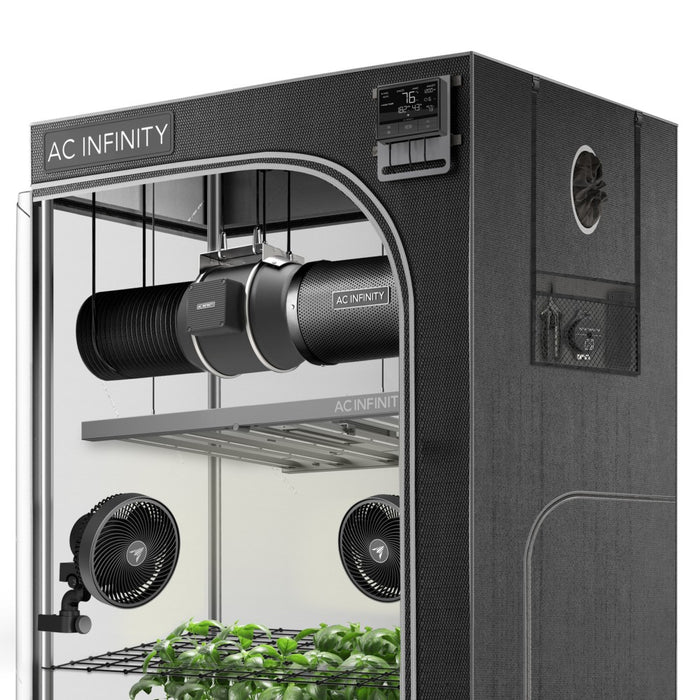
Credit: www.ledgrowlightsdepot.com
Key Automation Devices: Options And Comparisons
There are many brands and devices on the market. Here’s a comparison of popular controller types.
| Device | Pros | Cons | Best For |
|---|---|---|---|
| Wi-Fi Smart Plug | Affordable, easy setup, app control | Basic timer/sensor support, limited data | Beginners, small tents |
| Dedicated Grow Controller | Advanced features, integrates sensors | More expensive, complex setup | Enthusiasts, larger grows |
| DIY Microcontroller (Arduino/RPi) | Highly customizable, data logging | Requires coding, more time to build | Tech-savvy users, experimenters |
Recommendation: For most home growers, Wi-Fi smart plugs or a basic grow controller are enough. DIY options are great for those who enjoy tinkering and want full control.
Setting Up Automation Schedules And Alerts
Automation isn’t just about turning things on and off. Good systems let you set schedules and receive alerts if something goes wrong.
- Humidity: Set a target range (e.g., 85-95%). The controller turns the humidifier on/off as needed.
- Temperature: Use day and night settings if your mushroom species needs them.
- Lighting: Schedule lights for the right cycle (usually 12/12).
- Alerts: Many smart controllers can send push notifications or emails if temperature/humidity go out of range.
Non-obvious tip: Set up a backup notification method (like SMS) in case your main internet connection fails.
Hygiene And Contamination Prevention
Automation helps, but mushrooms are very sensitive to contamination by mold and bacteria. Keep your tent clean:
- Wipe down all surfaces with 70% alcohol before adding substrate or mushrooms.
- Use clean water in your humidifier (distilled is best).
- Remove old substrate and debris promptly.
- Avoid opening the tent more than necessary.
Some growers install HEPA filters on air intakes for extra protection.
Monitoring And Troubleshooting Your Automated Tent
Even the best systems need occasional checks. Here’s how to make sure your tent runs smoothly:
- Check sensor readings daily at first, then weekly as you gain confidence.
- Inspect for water leaks or electrical issues.
- Watch for mushrooms growing abnormally (long stems, small caps, fuzzy growth).
- Review data logs to spot problems early.
If you notice issues, check:
- Sensor placement (too close to humidifier or heater can give false readings)
- Firmware updates for your controllers
- Physical connections (loose cables, blocked fans)
Power And Energy Considerations
Automated tents use electricity, but usually not much compared to other indoor gardening setups. Still, be mindful:
- Choose energy-efficient devices (LED lights, low-power fans)
- Run lights only as needed (avoid 24-hour cycles)
- Unplug devices during cleaning or maintenance
Data point: A typical 4×4 mushroom tent with automation uses about 100-200 watts per hour, or $10-20 per month depending on local rates.
Expanding Your Automated System
Once you master one tent, expanding is simple:
- Add more tents and link controllers through a central app
- Use wireless sensors to avoid excess cabling
- Integrate with home automation (like Alexa or Google Home)
Some growers even automate watering for grain spawn or substrate prep (advanced).
Costs And Budgeting
Setting up an automated tent isn’t free, but it’s more affordable than many expect. Here’s a rough breakdown for a 4×4 setup:
| Component | Estimated Cost (USD) |
|---|---|
| Grow Tent | $80 – $150 |
| Humidifier | $30 – $60 |
| Heater | $25 – $50 |
| Fans | $30 – $70 |
| LED Lights | $20 – $40 |
| Smart Controllers/Sensors | $40 – $150 |
| Misc (power strips, cables) | $20 – $40 |
Total: $245 to $560 for a fully automated tent. Costs are lower for smaller tents or if you already own some equipment.
Tip: Start with basic automation, then upgrade as you gain experience.
Real-world Success Stories
Many home growers have used automation to scale up quickly. For example:
- John in Canada started with a manual 2×4 tent, harvesting 1 kg of oyster mushrooms per week. After adding smart controllers and a humidifier, yield jumped to 2.5 kg with less daily work.
- Maria in Spain grows lion’s mane mushrooms for her restaurant. She uses a Wi-Fi controller to adjust humidity and receives alerts on her phone. Her mushrooms are more consistent, and contamination rates dropped by 30%.
- A collective in the USA automated five tents using Raspberry Pi controllers, sharing data logs across the team. They now grow five varieties with only 1-2 hours of labor per week.
Non-obvious insight: Automation frees you to focus on improving substrate recipes, strains, and harvesting methods—areas that boost yield even more.

Credit: www.mars-hydro.com
How To Avoid Common Pitfalls
Even with automation, mistakes can happen. Here are problems to watch for:
- Sensor drift: Calibrate sensors monthly. Cheap sensors can give false readings over time.
- Humidity too high: Can cause mold. Set an upper limit (usually 95%) and add extra ventilation if needed.
- Equipment failure: Have a backup plan. A second humidifier or fan can save a crop if the first fails.
- Power outages: Consider a small UPS (battery backup) for your controllers if power is unreliable.
Expert advice: Keep a manual hygrometer and thermometer in the tent as a backup to check your automation.
Advanced Automation Ideas
Once you’re comfortable, try these upgrades:
- Remote monitoring: Use cloud-connected sensors to view your tent from anywhere.
- Camera monitoring: Install a small camera to watch for contamination or growth problems.
- Automated misting systems: Add solenoid valves for more precise humidity.
- Integration with climate apps: Adjust conditions based on weather forecasts.
These features aren’t required, but they can make large or commercial setups even more reliable.
Environmental And Sustainability Considerations
Automated tents are energy-efficient, but you can go further:
- Use LED lighting for low power use
- Collect rainwater for humidifiers (filter before use)
- Recycle spent substrate as garden compost
Some growers use solar panels to run their entire system, reducing their carbon footprint.
Resources And Further Reading
If you want to dive deeper, check out resources like the North American Mycological Association or guides at Wikipedia: Mushroom Cultivation. Forums like Shroomery and Myco-Tek are also full of real-world tips and troubleshooting help.
Frequently Asked Questions
What Is The Best Mushroom Species For An Automated Tent?
The oyster mushroom is the easiest and most forgiving for beginners. It grows fast and tolerates a range of conditions. Once you master oysters, try shiitake or lion’s mane for more challenge.
How Often Do I Need To Clean The Tent?
You should clean your tent thoroughly before each new grow cycle. Wipe down surfaces with alcohol, and sanitize equipment. For ongoing grows, spot-clean any spills or debris immediately.
Can I Automate Everything, Or Do I Still Need To Check The Tent?
While automation covers most daily tasks, you should still check on your tent at least once every few days. Look for signs of contamination, abnormal growth, or equipment failure.
Do I Need An Internet Connection For Smart Controllers?
Not always. Many controllers work locally with schedules and sensors. However, internet connectivity allows remote alerts and control, which is helpful for busy growers.
How Long Does It Take To Set Up An Automated Mushroom Tent?
For most people, setup takes about 4-8 hours over one or two days. This includes assembling the tent, installing equipment, and testing your automation settings.
Bringing automation to your mushroom growing tent transforms the experience. You get better yields, less stress, and more time to enjoy the process (and the harvest). With careful setup and a bit of learning, even beginners can achieve professional results.
And as you grow, your system can grow with you—making home mushroom cultivation one of the most rewarding, high-tech hobbies around.