Growing mushrooms at home may sound complex, but what if you could do it with something as simple as used coffee grounds? This zero-waste approach not only helps the environment but also gives you fresh, delicious mushrooms right from your kitchen.
Every morning, millions of people brew coffee and throw away the grounds. Yet, those used grounds are full of nutrients—just what mushrooms love. By learning how to grow mushrooms on coffee grounds, you can reduce waste, save money, and enjoy a fascinating growing process.
Whether you live in a small apartment or have a large backyard, this method is practical and rewarding for almost anyone.
Why Grow Mushrooms On Coffee Grounds?
Mushrooms need a substrate—a material that provides nutrients and a place to grow. Coffee grounds are almost perfect for this job. They’re high in cellulose, hemicellulose, and lignin, which mushrooms break down for food. Usually, commercial mushroom growers use straw or sawdust. But these need special treatment to kill off competing bacteria and mold. Used coffee grounds, on the other hand, have already been sterilized by the brewing process.
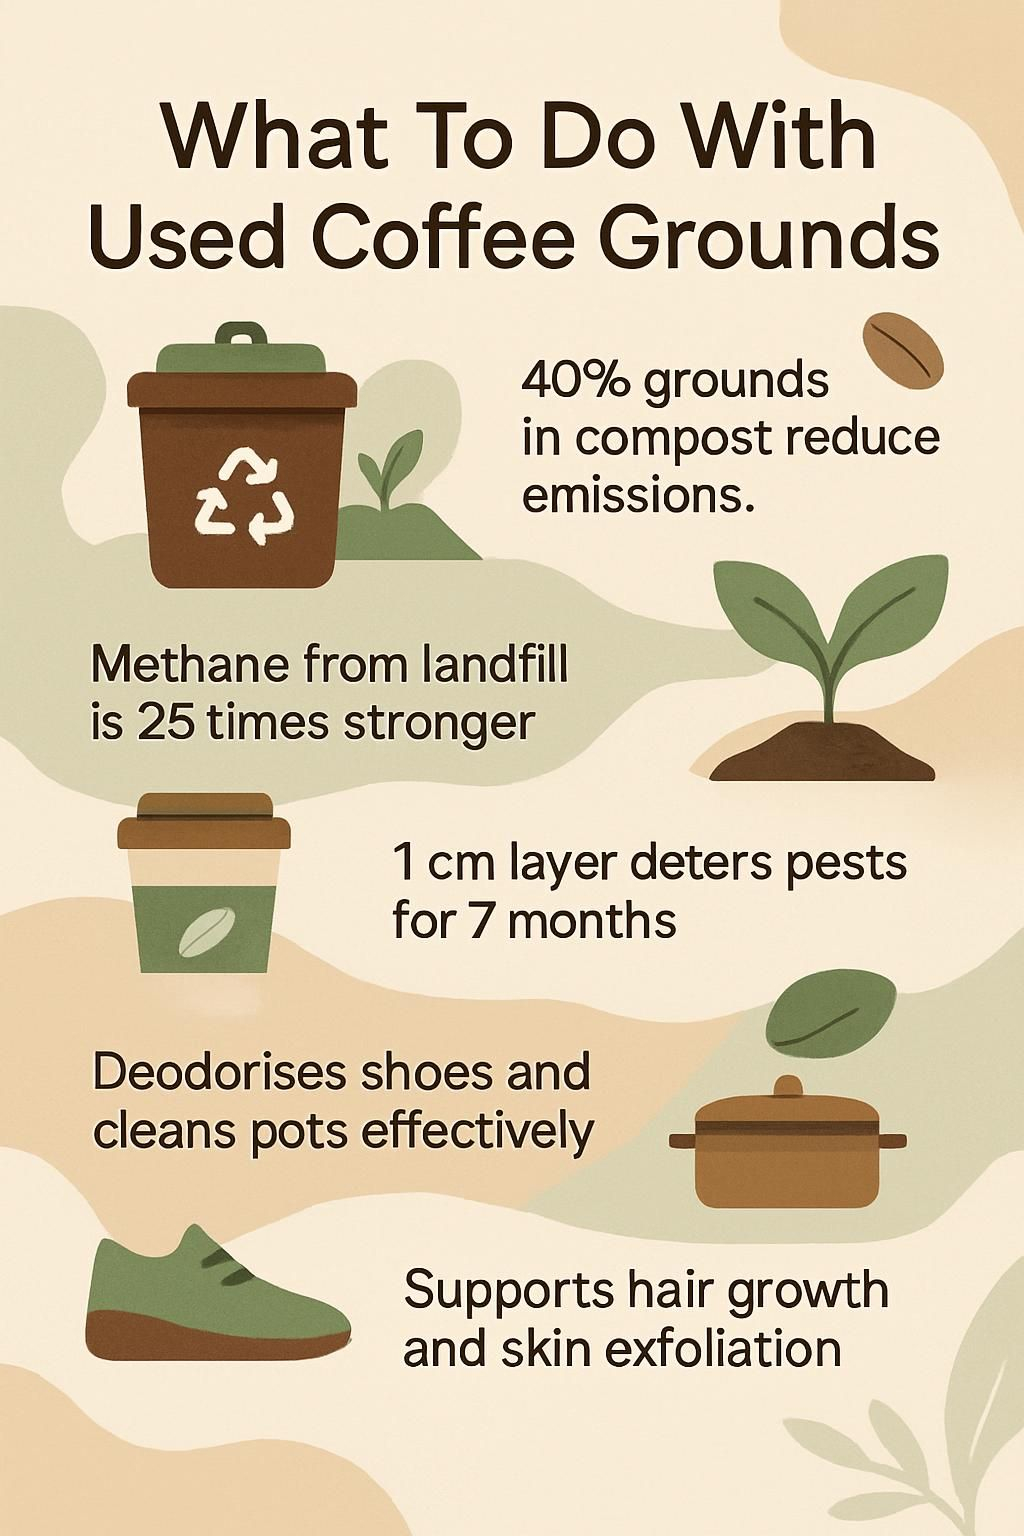
Another big reason is the environmental benefit. Each year, the world produces over 9 million tons of spent coffee grounds. Most end up in landfills, where they release methane, a harmful greenhouse gas. By reusing them to grow mushrooms, you help cut down on waste and pollution. It’s a simple but powerful way to make a difference.
For urban dwellers or those with limited space, coffee grounds are easy to collect and store. They’re free or cheap, and you don’t need a garden or expensive equipment. And since mushrooms like a dark, moist environment, you can grow them indoors—even in a closet or under the sink.
The Science Behind Mushrooms And Coffee Grounds
Mushrooms are not plants. They belong to the fungi kingdom, which means they grow by breaking down organic matter for nutrients. The white, thread-like part of the mushroom is called mycelium. This is the real body of the fungus, and it spreads through the substrate, digesting it.
Coffee grounds are full of carbohydrates and a bit of nitrogen. This makes them a good food source for many edible mushrooms, especially oyster mushrooms. These mushrooms are known for their fast growth and ability to tolerate different substrates.
One thing to note: coffee grounds can be acidic. Some mushrooms, like shiitake, prefer less acid. But oyster mushrooms thrive on coffee. Also, since coffee grounds are wet, they can attract other molds if not handled carefully. That’s why cleanliness and a bit of patience are key.
Types Of Mushrooms You Can Grow On Coffee Grounds
While there are many edible mushrooms, not all will do well on coffee grounds. The best choices are:
- Oyster Mushrooms (Pleurotus ostreatus): These are the most popular and beginner-friendly. They grow quickly, are forgiving of mistakes, and have a mild, pleasant flavor.
- King Oyster Mushrooms (Pleurotus eryngii): Similar to regular oysters, but larger and meatier.
- Pink Oyster Mushrooms (Pleurotus djamor): These add a splash of color and have a slightly different taste. They grow fast but need a bit more warmth.
- Shimeji Mushrooms (Hypsizygus tessellatus): These can grow on coffee with some extra care.
- Lion’s Mane (Hericium erinaceus): This unique mushroom can grow on coffee if mixed with other substrates.
Oyster mushrooms are the favorite for most home growers using coffee grounds. They don’t need much extra help and tend to outgrow any competitors.
What You Need To Get Started
Before you begin, gather these items:
- Fresh used coffee grounds (the fresher, the better)
- Mushroom spawn (the “seed” that starts the process; oyster mushroom spawn is recommended)
- Clean container (plastic buckets, tubs, or even large resealable bags work)
- Spray bottle (for watering)
- Gloves and mask (optional, but good for cleanliness)
- Spoon or scoop
- Plastic wrap or breathable lid
You can find mushroom spawn from online suppliers or specialty garden stores. Make sure the spawn is healthy and not dried out. If you’re using a container, make sure it can hold moisture and is easy to clean.
If you want to scale up, you might also want:
- A thermometer (to check temperatures)
- Hydrometer (to monitor humidity)
- Hygienic work surface

Credit: www.youtube.com
Preparing Coffee Grounds For Mushroom Growing
Freshness is important. Used coffee grounds should be less than 24 hours old to avoid contamination. If you can’t use them right away, store them in the fridge for a day or two. Avoid coffee with sugar, milk, or flavors, as these attract mold.
If collecting from a café, ask them to save the grounds in clean, food-safe bags. Always check for any signs of mold—if it smells sour or has green/blue spots, throw it out.
Some growers add a small amount of pasteurized straw or sawdust to give extra structure and nutrients. This is not required but can boost yields.
Step-by-step Guide: How To Grow Mushrooms On Coffee Grounds
Growing mushrooms is simple but requires attention to detail. Follow these steps for the best results.
1. Prepare Your Workspace
Cleanliness is crucial. Wash your hands, clean your container with hot water and soap, and wipe down your work area. Fungi are sensitive to bacteria and mold, so keep things as sterile as possible.
2. Mix Coffee Grounds And Mushroom Spawn
- Place fresh coffee grounds in your container.
- Break up the mushroom spawn into small pieces.
- Mix the spawn and coffee grounds together with a spoon or gloved hands. Aim for a ratio of about 1 part spawn to 4 parts coffee grounds. This helps the mycelium grow faster and outcompete any unwanted mold.
3. Pack The Mixture
- Press the mixture gently into your container. Don’t pack too tightly; you want some air pockets.
- Level the top and cover loosely with plastic wrap or a lid. If using plastic, poke a few small holes for air.
4. Incubation Period
- Place your container in a warm, dark spot (ideally 20–24°C / 68–75°F).
- Check once a day to see if the mixture is drying out. If so, spray lightly with water.
- After about 2–3 weeks, you’ll see white mycelium spreading through the coffee grounds. This means the fungus is colonizing the substrate.
If you notice green or black mold, remove those parts. Sometimes, a batch may be lost to contamination—don’t be discouraged.
5. Fruiting Stage
Once the coffee mixture is fully white, it’s time to fruit the mushrooms.
- Move the container to a spot with indirect light and fresh air (not direct sunlight).
- Increase humidity by misting with water 2–3 times a day.
- Cut a few slits in the plastic or open the lid to allow mushrooms to grow out.
- Mushrooms need high humidity (80–90%) and cooler temperatures (15–20°C / 59–68°F) for best results.
Within 7–14 days, small mushroom pins (baby mushrooms) will appear. Keep misting and avoid letting them dry out.
6. Harvesting
When the mushrooms have opened their caps and are still plump, harvest them by twisting and pulling gently at the base. Don’t wait too long; over-mature mushrooms drop spores and lose flavor.
7. Second Flush
After the first harvest, you can often get a second or third crop (called “flushes”) by soaking the substrate in water overnight, draining it, and repeating the fruiting process. Each flush will be smaller, but you’ll get more value from your coffee grounds.
Credit: www.tankcoffee.com
Common Mistakes And How To Avoid Them
Even with a simple process, some problems can occur. Here are mistakes to watch for:
- Using old or moldy coffee grounds: Always use fresh grounds. Mold competes with mushrooms and can ruin your batch.
- Not enough spawn: A low spawn-to-coffee ratio slows growth and lets contaminants in.
- Overwatering or underwatering: The substrate should be damp, not soggy. If too wet, mold thrives; if too dry, mycelium stalls.
- Poor air exchange: Mushrooms need some fresh air to fruit. Don’t seal the container tightly.
- Ignoring temperature and humidity: Too cold or dry, and mushrooms won’t grow. Too hot, and bacteria can take over.
A less obvious tip: store your used coffee grounds in small batches. This way, if one batch fails, you won’t lose your entire project.
Another insight: If you see yellow or brown patches on the mycelium, it could be a sign of stress or bacteria. Remove those areas and improve cleanliness next time.
How To Collect And Store Coffee Grounds
If you’re a daily coffee drinker, you can collect grounds from your own machine. For larger amounts, visit local cafés—many are happy to give away used grounds.
- Store grounds in airtight containers in the fridge if not using immediately.
- Don’t let them sit out at room temperature for more than a day.
- If you collect a large amount, dry them in a thin layer on a tray before using. This stops mold from forming.
Choosing The Right Container
Your container affects the yield and ease of harvesting. Here are some popular options:
| Container Type | Pros | Cons |
|---|---|---|
| Plastic bag | Cheap, easy to handle, good humidity control | Can tear, limited airflow |
| Plastic bucket | Reusable, sturdy, holds more coffee grounds | Needs holes for airflow, takes more space |
| Glass jar | Easy to clean, see progress easily | Breakable, less airflow |
| Cardboard box | Biodegradable, easy to cut for harvest | Can get soggy, not reusable |
For beginners, plastic bags or small buckets work best. Make sure to poke a few holes for air, but not so many that the substrate dries out.
Boosting Yields: Advanced Tips
Once you’re comfortable with the basics, you can try these advanced tips to increase your harvest:
- Mix in other substrates: Adding straw, sawdust, or cardboard can increase nutrients and help structure. This supports bigger flushes.
- Supplement with gypsum or lime: A tiny bit (about 1% by weight) can balance pH and provide minerals. Oyster mushrooms especially like a slightly higher pH.
- Layering technique: Instead of mixing spawn and grounds all at once, try layering coffee, then spawn, then coffee, then spawn. This can speed up colonization.
- Control temperature and humidity: Use a small humidifier or keep your container in a bathroom for higher humidity. Keep temperatures stable for best results.
- Harvest timing: Pick mushrooms just as the caps flatten out but before they curl upwards. This is when flavor and texture are best.
Some growers even use spent coffee grounds as a “booster” for regular straw or wood-based mushroom kits. This recycles even more waste and can add nutrients.
Comparing Mushroom Yields: Coffee Grounds Vs. Traditional Substrates
How do coffee grounds compare with classic mushroom-growing methods? Here’s a quick look:
| Substrate | Yield (kg per 1kg substrate) | Preparation Needed | Cost |
|---|---|---|---|
| Coffee grounds | 0.8–1.2 | Minimal (just mix) | Free or very low |
| Sawdust | 1.2–1.5 | Pasteurize/sterilize | Low |
| Straw | 1.0–1.4 | Pasteurize | Low |
| Cardboard | 0.7–1.0 | Soak | Free |
As you can see, coffee grounds give a good yield for the effort. While sawdust can produce a bit more, it requires extra work. For most people, the simplicity and zero-waste aspect of coffee grounds win out.
Health And Safety Considerations
While growing mushrooms at home is safe, some care is needed:
- Only use edible mushroom spawn from trusted sources. Never try to grow wild mushrooms unless you’re an expert.
- Wash hands and tools before handling spawn or substrate.
- If you see green, black, or orange mold, discard the batch. Don’t eat contaminated mushrooms.
- If you have allergies or asthma, wear a mask when handling dry spawn or spores.
- Always cook your mushrooms before eating. Some varieties can upset your stomach when raw.
Troubleshooting: Problems And Solutions
Most problems fall into a few categories. Here’s how to solve them:
Slow Growth Or No Growth
- Check temperature (should be 20–24°C during incubation).
- Make sure you used enough spawn.
- If coffee grounds were too old or dry, start fresh.
Mold Contamination
- Remove affected areas if minor.
- If mold spreads, discard and clean all equipment.
- Use fresher coffee and more spawn next time.
Mushrooms Won’t Fruit
- Move container to a brighter spot with indirect light.
- Increase humidity with more misting.
- Lower temperature slightly if too warm.
Mushrooms Are Small Or Deformed
- Substrate may be too dry or too dense.
- Try adding a small amount of straw or cardboard for better structure.
- Increase humidity and check for even airflow.
Environmental Impact: Zero Waste In Action
By growing mushrooms on coffee grounds, you’re part of a bigger movement. Food waste makes up about one-third of global landfill waste. Coffee grounds are a big part of this, especially in cities. When coffee grounds break down in landfills, they produce methane, which is 25 times more harmful than CO2 for the climate.
By recycling coffee grounds, you:
- Reduce landfill waste
- Lower greenhouse gas emissions
- Create fresh food at home
- Inspire others to think differently about “waste”
Some companies are taking this idea even further. For example, GroCycle in the UK collects coffee waste from cafes and grows gourmet mushrooms for restaurants. This creates local jobs, fresh food, and less pollution.
You can do the same on a small scale in your home, school, or community.
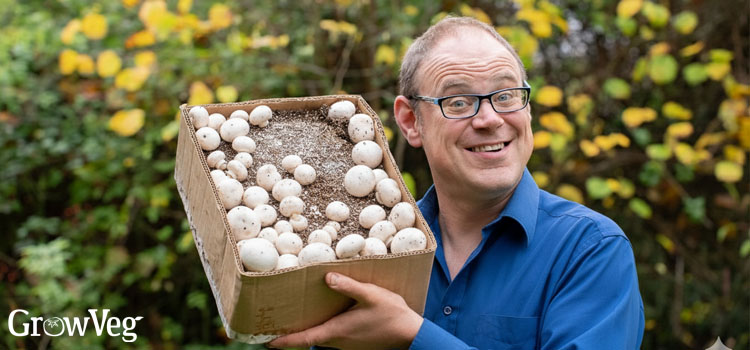
Credit: www.growveg.com
What To Do With Leftover Substrate
After you’ve harvested all the mushrooms, you’ll have leftover substrate (the mix of coffee grounds and mycelium). Don’t throw it away! It’s full of nutrients and beneficial fungi.
Here’s how to reuse it:
- Compost it: Add to your compost pile or bin. It will break down quickly and add nitrogen to the mix.
- Use as garden mulch: Spread around plants to help retain moisture and add nutrients.
- Feed to worms: If you have a worm bin, the spent substrate is a great food source.
- Start a new batch: Mix some old substrate into a new batch of coffee grounds. The leftover mycelium can “kickstart” the next round.
This closed loop makes your mushroom project truly zero waste.
Scaling Up: From Hobby To Small Business
Some people start with a single bucket of mushrooms and end up growing much more. If you enjoy the process, you might consider selling mushrooms to friends, local markets, or restaurants.
Key things to consider:
- Source large amounts of coffee grounds: Partner with local cafes or offices.
- Use bigger containers: 5–10 liter buckets or grow bags.
- Keep records: Track temperatures, yields, and contamination rates to improve.
- Follow food safety laws: If selling, check local regulations for home-grown produce.
Some growers automate parts of the process with humidity and temperature controls. Others use vertical racks to maximize space. Whatever your scale, the basic process remains the same.
Educational And Community Benefits
Growing mushrooms on coffee grounds is a great project for schools, families, or community gardens. It teaches science, recycling, and food production in a hands-on way.
Benefits include:
- Learning about fungi and ecology
- Reducing cafeteria or home waste
- Providing fresh food for lunches or food banks
- Inspiring eco-friendly habits
Many teachers use mushroom kits as part of STEM education. Kids love watching the mycelium spread and seeing mushrooms pop up in just a few weeks.
Best Practices For Sustainable Mushroom Growing
To make your project as green and effective as possible:
- Reuse containers: Clean and disinfect between batches.
- Share excess spawn or substrate with friends: This spreads the benefit.
- Educate others: Post about your project, or offer to teach others.
- Document your results: Take notes and photos. This helps improve future batches and inspires more people.
By keeping these habits, you multiply the positive impact of your zero-waste approach.
Inspiring Real-world Examples
Across the world, urban farmers and eco-entrepreneurs have turned coffee waste into a resource.
- In San Francisco, a company called Back to the Roots started with a college project and now sells mushroom kits nationwide.
- In the Netherlands, RotterZwam collects used coffee from local businesses to grow mushrooms for restaurants, then uses the spent substrate for compost.
- In Vietnam, small farmers mix coffee grounds with rice straw to grow mushrooms, creating new income and recycling farm waste.
These examples show that a simple idea—reusing coffee grounds—can have big effects on food, waste, and community.
Comparing The Environmental Impact: Coffee Grounds Vs. Landfill
Let’s see how using coffee grounds for mushrooms stacks up against sending them to landfill:
| Disposal Method | CO2 Equivalent Emissions (kg/ton) | Useful Output |
|---|---|---|
| Landfill | 340–380 | None |
| Mushroom growing | 20–40 | Food, compost, soil amendment |
This shows that using coffee grounds for mushroom cultivation can cut carbon emissions by up to 90% compared to landfill. Plus, you get healthy food and garden products as a bonus.
Where To Learn More
If you want to dive deeper, many resources are available. The Wikipedia page on mushroom cultivation has detailed background on techniques, species, and science.
Look for local mushroom growing workshops or online forums. Many growers share tips and photos on social media. Joining a community can help you solve problems faster and connect with like-minded people.
Frequently Asked Questions
How Long Does It Take To Grow Mushrooms On Coffee Grounds?
It usually takes about 3–5 weeks from mixing your substrate to harvesting your first mushrooms. The exact time depends on temperature, humidity, and the amount of spawn used.
Can I Use Coffee Grounds That Have Milk Or Sugar In Them?
No, avoid coffee grounds with milk, cream, sugar, or flavors. These can attract bacteria and mold, which outcompete the mushroom mycelium.
Do I Need Special Equipment To Grow Mushrooms This Way?
Not really. You only need fresh coffee grounds, mushroom spawn, and a clean container. A spray bottle for misting helps, but you don’t need fancy tools or machines.
Are The Mushrooms Safe To Eat?
If you use edible mushroom spawn from a reputable supplier and keep your process clean, the mushrooms are safe. Always cook them before eating for best flavor and safety.
What Should I Do If I See Mold In My Mushroom Container?
If you see a small patch of green or black mold, cut it out and keep monitoring. If it spreads, it’s safest to throw out the batch, clean everything, and start fresh with better cleanliness.
Growing mushrooms on coffee grounds is a fun, sustainable, and rewarding project. With care and curiosity, you’ll turn kitchen waste into gourmet food—and help the planet at the same time.