
Many people are drawn to growing mushrooms at home, but the process can seem complicated or risky for beginners. The Mushroom Monotub Tek is a method that makes things much easier. It allows you to grow a large quantity of mushrooms with limited equipment and space, while lowering the risk of failure. This guide will walk you through every step of the monotub tek, including what you need, how to set it up, and how to get the best results. Whether you want to grow gourmet varieties for the kitchen or are interested in the science of mycology, this article will help you feel confident and ready to start.
What Is Mushroom Monotub Tek?
The monotub tek is a bulk growing technique for mushrooms that uses a large plastic tub as the main growing chamber. “Tek” means “technique” in the mushroom community. The idea is simple: colonized grain spawn is mixed with a bulk substrate inside a plastic tub. The tub is modified to control airflow and humidity. After a few weeks, healthy mushrooms begin to fruit. This method is popular because it requires little maintenance, can produce big harvests, and works well for beginners.
Why Is Monotub Tek So Popular?
- Easy to set up: No need for expensive lab equipment.
- Low maintenance: Once prepared, monotubs need little attention.
- Great yields: One tub can produce several flushes (harvests).
- Safe for beginners: Reduces the risk of contamination compared to open trays or bags.
Monotub tek is used for many species, but it’s especially suited for Psilocybe cubensis (the most common magic mushroom), oyster mushrooms, and other fast-growing varieties.
How Does Monotub Tek Work?
The basic idea is to create a mini-ecosystem where mushrooms can grow. The monotub keeps humidity high and allows fresh air in, both important for healthy mushrooms. Here’s the main process:
- Prepare grain spawn: Start with sterilized grains (like rye or millet) and introduce mushroom spores or culture.
- Mix with bulk substrate: Combine colonized spawn with a substrate (coco coir, vermiculite, and sometimes manure).
- Incubate: Let the mycelium colonize the substrate.
- Initiate fruiting: Adjust air and light to encourage mushrooms to grow.
- Harvest and repeat: Pick mushrooms as they mature, then wait for more flushes.
The monotub’s design makes it simple to control the environment without expensive tools.
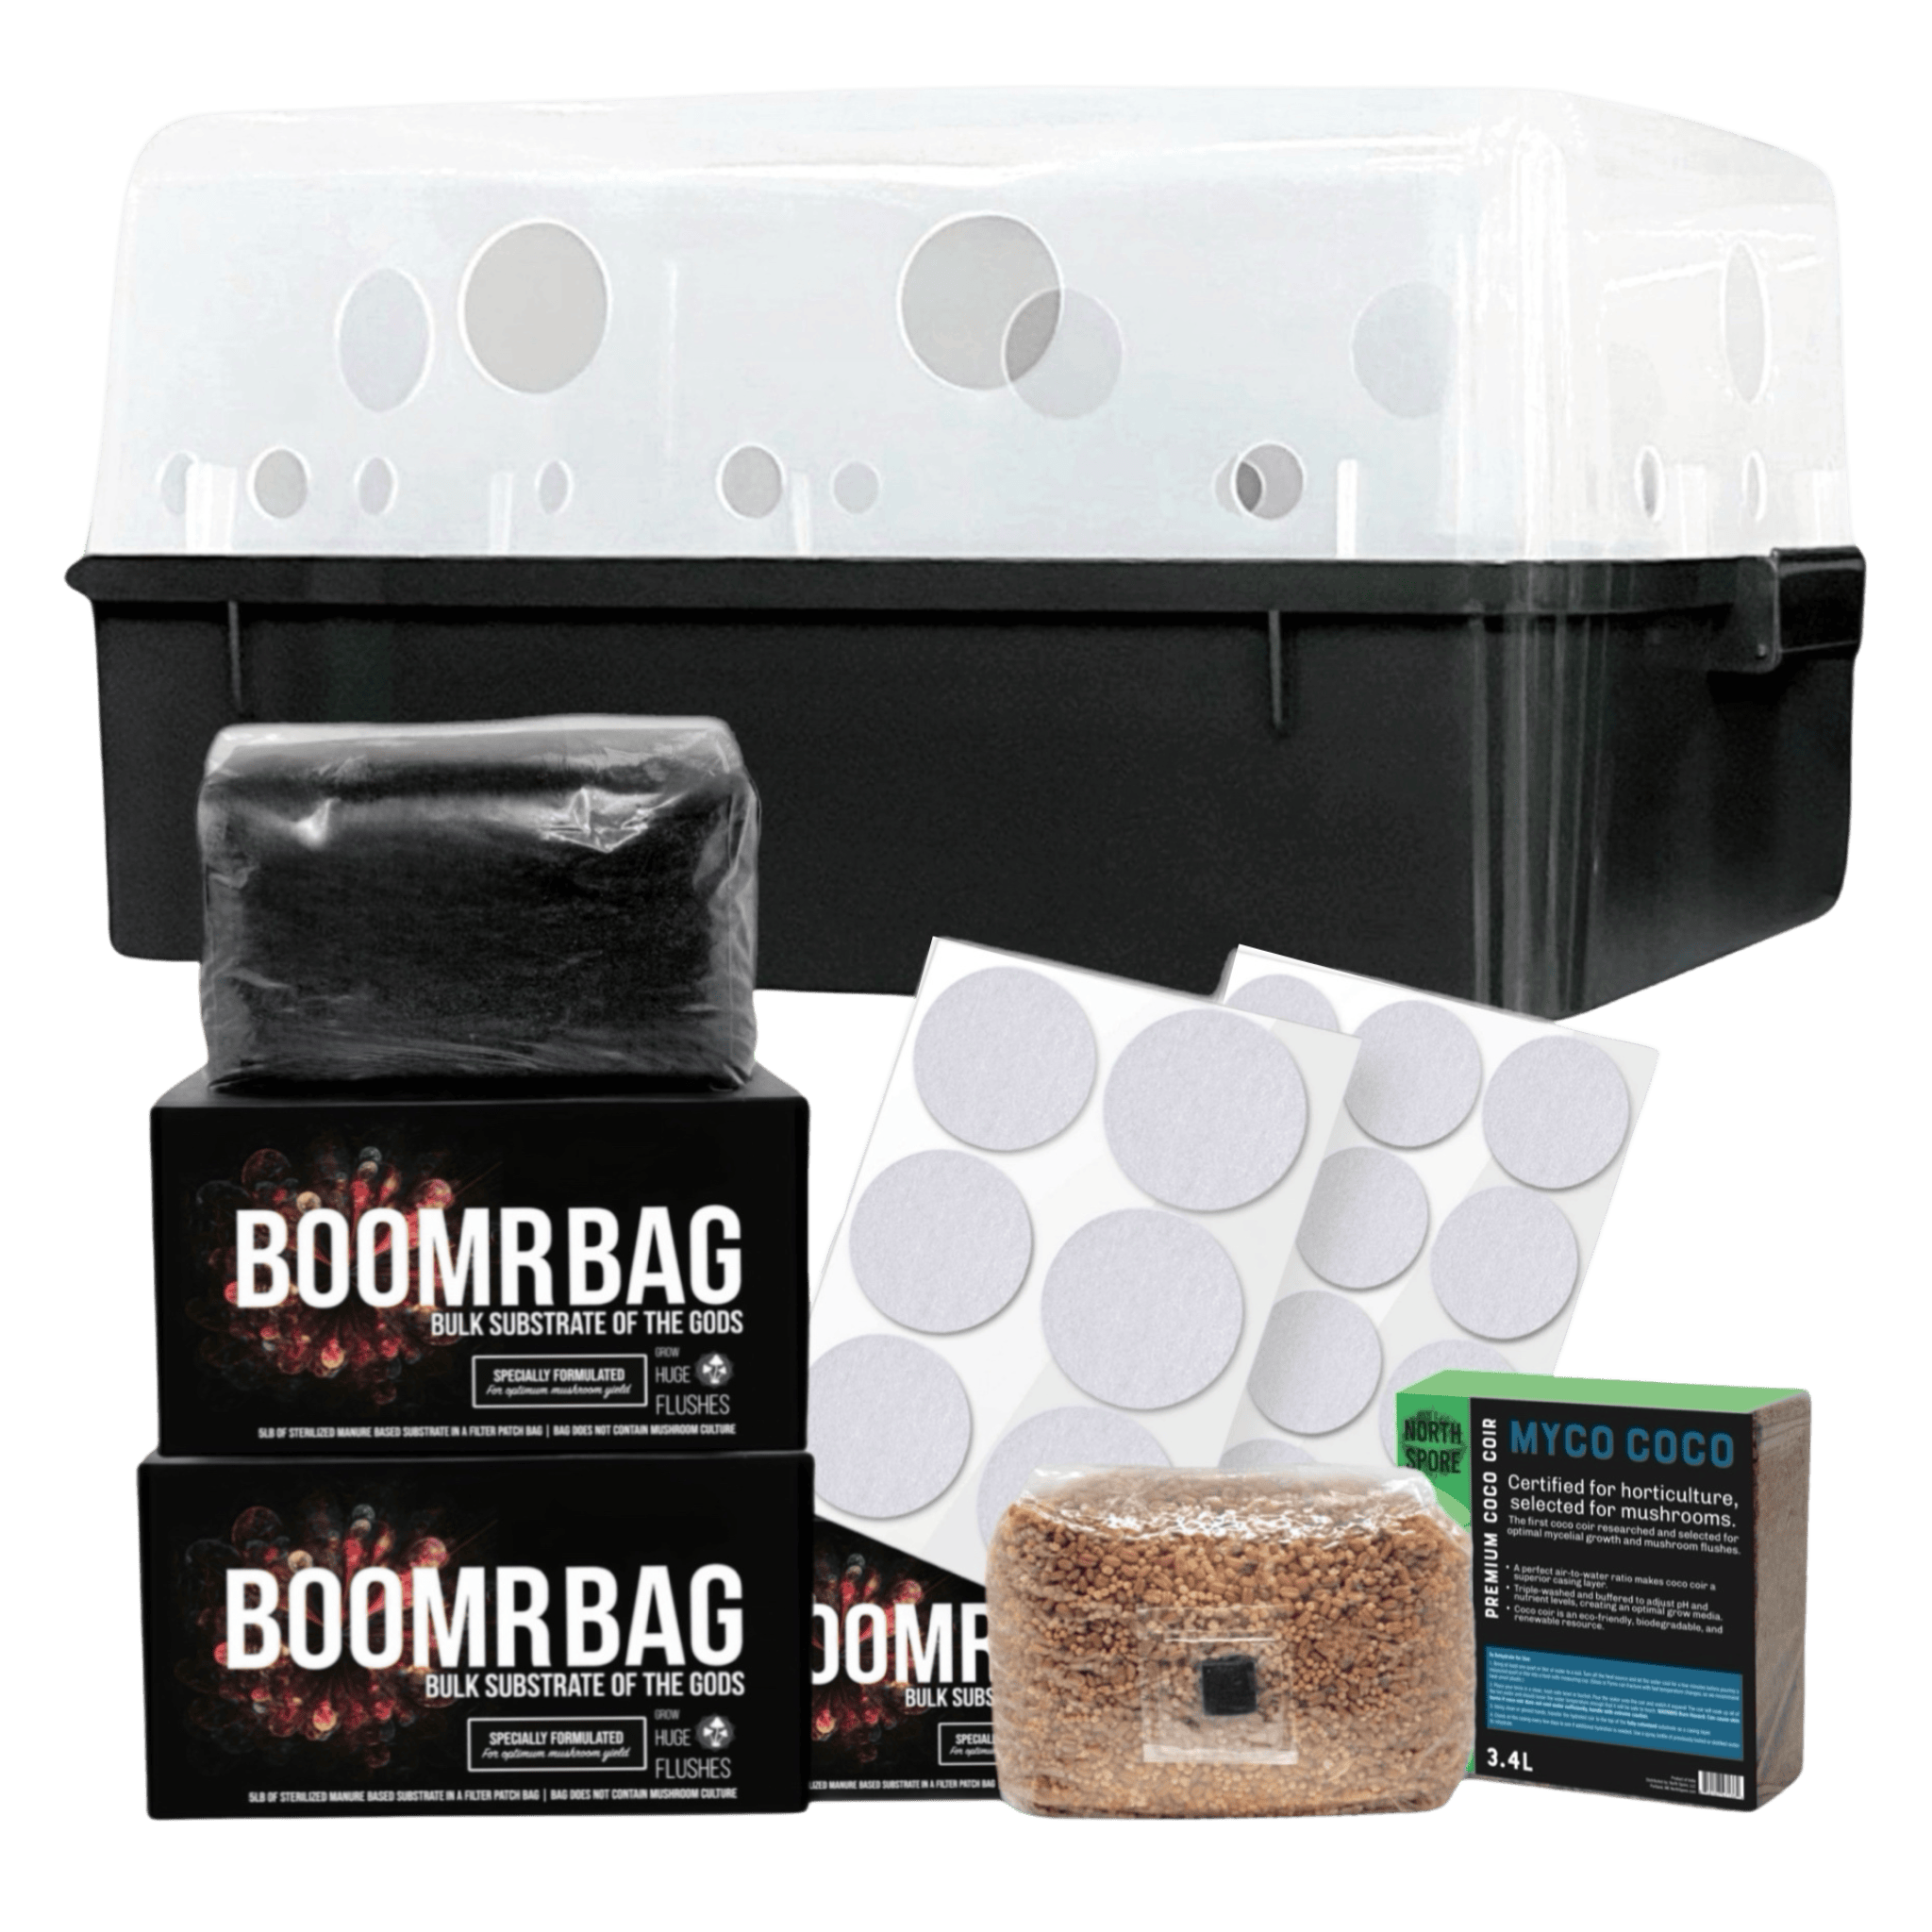
Credit: northspore.com
What You Need: Supplies And Tools
Setting up a monotub doesn’t require a laboratory. Most supplies are available from hardware stores, garden centers, or online.
Main Items
- Large clear plastic tub: 60–100 liters is common (around 66 quarts).
- Lid: Comes with the tub.
- Drill and hole saw (or knife): For making air holes.
- Micropore tape or polyfill: To cover holes and filter air.
- Alcohol spray: For cleaning.
- Gloves and face mask: To reduce contamination risk.
For The Substrate
- Coco coir: Holds water, provides structure.
- Vermiculite: Helps retain moisture.
- Gypsum (optional): Adds calcium and sulfur.
- Water: Clean, preferably distilled or boiled and cooled.
For The Spawn
- Grain jars or bags: Sterilized and inoculated with mushroom spores or liquid culture.
- Pressure cooker: Needed to sterilize grains if preparing at home.
- Syringe with spores or liquid culture: Chosen for your mushroom species.
Other Useful Items
- Thermometer and hygrometer: To monitor temperature and humidity.
- LED light or natural light: Mushrooms need a light cycle to fruit.
- Large spoon or gloved hands: For mixing substrate and spawn.
- Trash bag (black): For lining the tub (optional).
Example: Typical Monotub Setup
| Item | Purpose | Approximate Cost (USD) |
|---|---|---|
| 66 qt clear tub | Growing chamber | $10–$15 |
| Coco coir (1 brick) | Substrate base | $5–$7 |
| Vermiculite (8 qt) | Substrate moisture | $7–$10 |
| Grain spawn (1 qt jar) | Mushroom mycelium | $10–$15 |
| Micropore tape | Filter air holes | $3–$5 |
Remember, you can reuse the tub and some tools for future grows, lowering long-term costs.
Choosing The Right Mushrooms For Monotub Tek
Not all mushrooms thrive in a monotub. Some species need special conditions or equipment. Here are the best options for beginners:
- Psilocybe cubensis: The most popular and forgiving, often used for educational and research purposes.
- Oyster mushrooms: Fast-growing, tolerate a range of conditions, good for eating.
- Enoki: Can work if you keep the environment cool.
- Panaeolus species: Similar needs to P. cubensis, but more sensitive.
- Other gourmet species: Some, like lion’s mane, can be grown with tweaks but are less beginner-friendly.
Beginners should start with P. cubensis or oyster mushrooms. Both are resilient and will teach you the basics. Avoid shiitake, morels, or truffles for your first grow—they need different setups.
Why Not Use Bags Or Jars?
- Monotubs provide more space for mushrooms to fruit, leading to bigger harvests.
- Airflow and humidity are easier to control in a monotub than in bags.
- You can observe growth without opening the container, lowering contamination risk.
Preparing Your Monotub: Step-by-step
Setting up your first monotub can be exciting. Here’s a clear guide to help you succeed.
1. Clean And Modify The Tub
Wash the tub and lid with soap and hot water. Rinse and let dry. Spray with alcohol for extra safety. Avoid strong chemicals like bleach that can leave residues.
Drill or cut 6–8 holes (2–2.5 inches wide) in the sides of the tub, just above the substrate line and near the top. These will allow gas exchange. Cover holes with 2–3 layers of micropore tape or stuff with polyfill. This filters out contaminants but lets air flow.
2. Prepare The Substrate
A common mix is “CVG”: coco coir, vermiculite, and gypsum. For a standard 66 qt tub:
- 1 brick coco coir (650 g)
- 2 quarts vermiculite
- 1 cup gypsum (optional)
- 4–5 quarts boiling water
Place coir, vermiculite, and gypsum in a large bucket. Add boiling water, stir well, and cover. Let sit for at least 1 hour. The goal is field capacity—squeeze a handful, and only a few drops of water should come out.
3. Prepare And Add The Grain Spawn
If you buy spawn, skip to mixing. If making your own, sterilize grains (such as rye or wheat) in a pressure cooker for 90–120 minutes at 15 psi. Cool, then inject with spores or culture using a sterile syringe. Allow 2–4 weeks for colonization.
When fully white and colonized, break up the spawn with clean hands. Mix the spawn and substrate in the tub. Spread evenly, aiming for a depth of 3–5 inches.
4. Set Up For Incubation
After mixing, cover the tub with its lid (do not seal tightly). Place the tub in a dark, warm room (70–78°F / 21–25°C). Check for condensation—this means humidity is high, which is good.
Leave the tub undisturbed for 10–14 days. Mycelium will colonize the substrate, turning it bright white. Watch for green, black, or pink patches—these are signs of contamination.
5. Initiate Fruiting
Once the substrate is fully colonized, introduce fruiting conditions:
- Move the tub to a room with indirect natural light or use an LED light on a 12-hour cycle.
- Remove any covering from the air holes, or loosen the tape/polyfill to increase airflow.
- Keep the room temperature between 68–74°F (20–23°C).
Mist the inside walls of the tub if they look dry, but do not spray the substrate directly. Fanning is usually unnecessary with good airflow.
6. Harvest Mushrooms
Mushrooms will form pins (tiny knots) after 5–14 days in fruiting conditions. They will mature in 3–7 days. Harvest when the veil under the cap is about to break, or just after.
Gently twist and pull mushrooms, or cut at the base with a clean knife. Be careful not to damage the substrate, as more mushrooms (“flushes”) will follow.
7. Maintain And Repeat
After harvesting, remove any leftover stems and mist the walls if humidity drops. Wait a few days for the next flush. Most monotubs produce 2–4 strong flushes before slowing down.
Key Factors For Success
Monotub tek is reliable, but a few details can make a big difference.
Cleanliness
Contamination is the main threat. Always clean your hands, tools, and workspace with alcohol. Wear a mask to avoid breathing on your tub. Work quickly when mixing or opening the tub.
Moisture Level
Too much water leads to bacteria and mold; too little, and mushrooms dry out. Learn to judge field capacity—it’s better to be slightly dry than wet.
Airflow
Mushrooms need oxygen to grow, but too much airflow dries out the substrate. Adjust the number of tape layers or amount of polyfill to balance fresh air and humidity.
Temperature
Most mushrooms grow best at 70–75°F (21–24°C). Too hot encourages contamination, while too cold slows growth.
Light
Mushrooms use light to know which way is “up. ” They don’t need strong light—just a regular day/night cycle.
Example: Common Mistakes And How To Avoid Them
| Mistake | Problem | Solution |
|---|---|---|
| Too wet substrate | Stalls growth, invites bacteria | Squeeze test—just a few drops of water |
| Not enough airflow | Mycelium “sweats”, mushrooms abort | Remove some tape or polyfill |
| Dirty tools/hands | Contamination | Use alcohol, gloves, and mask |
| Too much light or heat | Dry substrate, poor growth | Indirect light, avoid heaters |
Advanced Tips For Better Yields
Even simple tweaks can improve your results. Here are strategies experienced growers use:
Lining The Tub
Line the bottom and sides with a trash bag (cut to fit) before adding substrate. The liner shrinks with the substrate and prevents side pins (mushrooms growing between substrate and tub wall).
Layering The Substrate
Some growers use a “top layer” of plain, uncolonized substrate (about 0. 5 inch thick) after mixing in the spawn. This can help keep moisture even and reduce contamination risk.
Dialing In Air Holes
If the tub fogs up too much, increase airflow by removing a layer of tape or using less polyfill. If it dries out, add more tape or mist more often.
Spawning To Bulk Ratio
A common ratio is 1 part spawn to 2–3 parts substrate. More spawn means faster colonization and less chance for contamination.
Using A Light Timer
Set your LED light to 12 hours on, 12 hours off. Consistent light cycles improve pinning and mushroom shape.
Monitoring Conditions
Use a hygrometer and thermometer inside the tub or nearby. Ideal humidity is 90–95% during fruiting.
Avoiding Overhandling
Do not open the tub often. Every time you open the lid, you introduce new microbes. Only open when necessary (harvest or misting).
Troubleshooting: Common Issues And Solutions
Even with careful work, problems can happen. Here’s how to handle them confidently.
Contamination (mold, Bacteria)
- Green/blue/black mold: Remove the affected area with a spoon, but often it’s best to discard the whole tub if contamination spreads.
- Sour or foul smell: Indicates bacteria; discard the substrate.
- Prevention: Cleanliness, proper moisture, and quick colonization are your best defenses.
No Pins Or Slow Growth
- Too dry: Mist the walls, increase humidity.
- Not enough fresh air: Loosen tape/polyfill.
- Too cold: Move to a warmer space.
Mushrooms Growing On Sides
- Cause: Light at the sides, or no liner.
- Fix: Use a black trash bag liner next time.
Small Or Deformed Mushrooms
- Lack of nutrients: Use fresh substrate and spawn.
- Drying out: Mist more often, check air exchange.
Example: Growth Timeline
| Day | Stage | What to Expect |
|---|---|---|
| 0 | Spawn mixed with substrate | Substrate is brown/tan |
| 7 | Colonization | White mycelium spreading |
| 14 | Full colonization | Surface turns solid white |
| 16 | Pinning begins | Tiny mushroom knots appear |
| 20 | Fruiting | Mature mushrooms ready to harvest |
Comparing Monotub Tek To Other Methods
There are other ways to grow mushrooms at home, such as PF Tek, grow bags, or Martha tents. Each has pros and cons.
- PF Tek: Small jars, very simple, but only for small yields.
- Grow bags: Good for some species, but can be hard to manage humidity.
- Martha tent: High yield, advanced, needs special equipment.
- Monotub Tek: Best balance for beginners—simple, cheap, and gives big harvests.
If you plan to scale up or grow many varieties, you can experiment with other methods later.
Legal And Safety Considerations
Before starting, always check the laws in your area regarding growing mushrooms. Some species are controlled, while gourmet types are legal. Never share or consume unknown mushrooms.
Wear a mask and gloves when working with the substrate. Spores can cause allergies in sensitive people. Keep your workspace clean, and always wash your hands after handling mushrooms or substrate.
Real-world Results: What Can You Expect?
A well-run monotub can yield up to 5–8 ounces (140–225 grams) of fresh mushrooms per flush, depending on species and conditions. Most tubs produce 2–4 good flushes before the substrate is exhausted.
Results improve with experience. The first grow is a learning process—small mistakes are normal. Most beginners are surprised by how simple the method is and how quickly mushrooms appear.
Two Beginner Insights
- Surface Conditions Matter: The top of your substrate should look “glistening,” not dry or flooded. This is a key sign for healthy pinning.
- Patience Is Key: The mycelium may seem inactive during colonization, but this is when most of the “work” is happening. Don’t rush to fruiting—wait for full colonization.
Sustainability And Reusing Materials
Monotub tek creates less waste than some other methods. The tub, tools, and often the liner can be reused. Used substrate can be composted or used as garden fertilizer after the final flush.
Some growers use recycled containers, like old storage bins or repurposed aquariums. As long as the container is clean and can be modified for airflow, it will work.

Credit: www.midwestgrowkits.com
When To Move Beyond Monotub Tek
Once you are comfortable with monotubs, you may want to try:
- Bigger tubs or multiple tubs: For larger harvests.
- Different species: Each has unique needs.
- Automated systems: Martha tents with fans and humidifiers for gourmet mushrooms.
- Grain-to-grain transfers: For making your own spawn at scale.
Monotub tek gives a solid foundation for all these advanced techniques.
Finding Reliable Information And Cultures
Use trusted sources for spores and cultures, especially when starting out. Many online communities share knowledge and support, but not all advice is reliable.
A good reference for mushroom cultivation is the book “Growing Gourmet and Medicinal Mushrooms” by Paul Stamets. For legal and scientific information, see this Wikipedia article on mushroom cultivation.
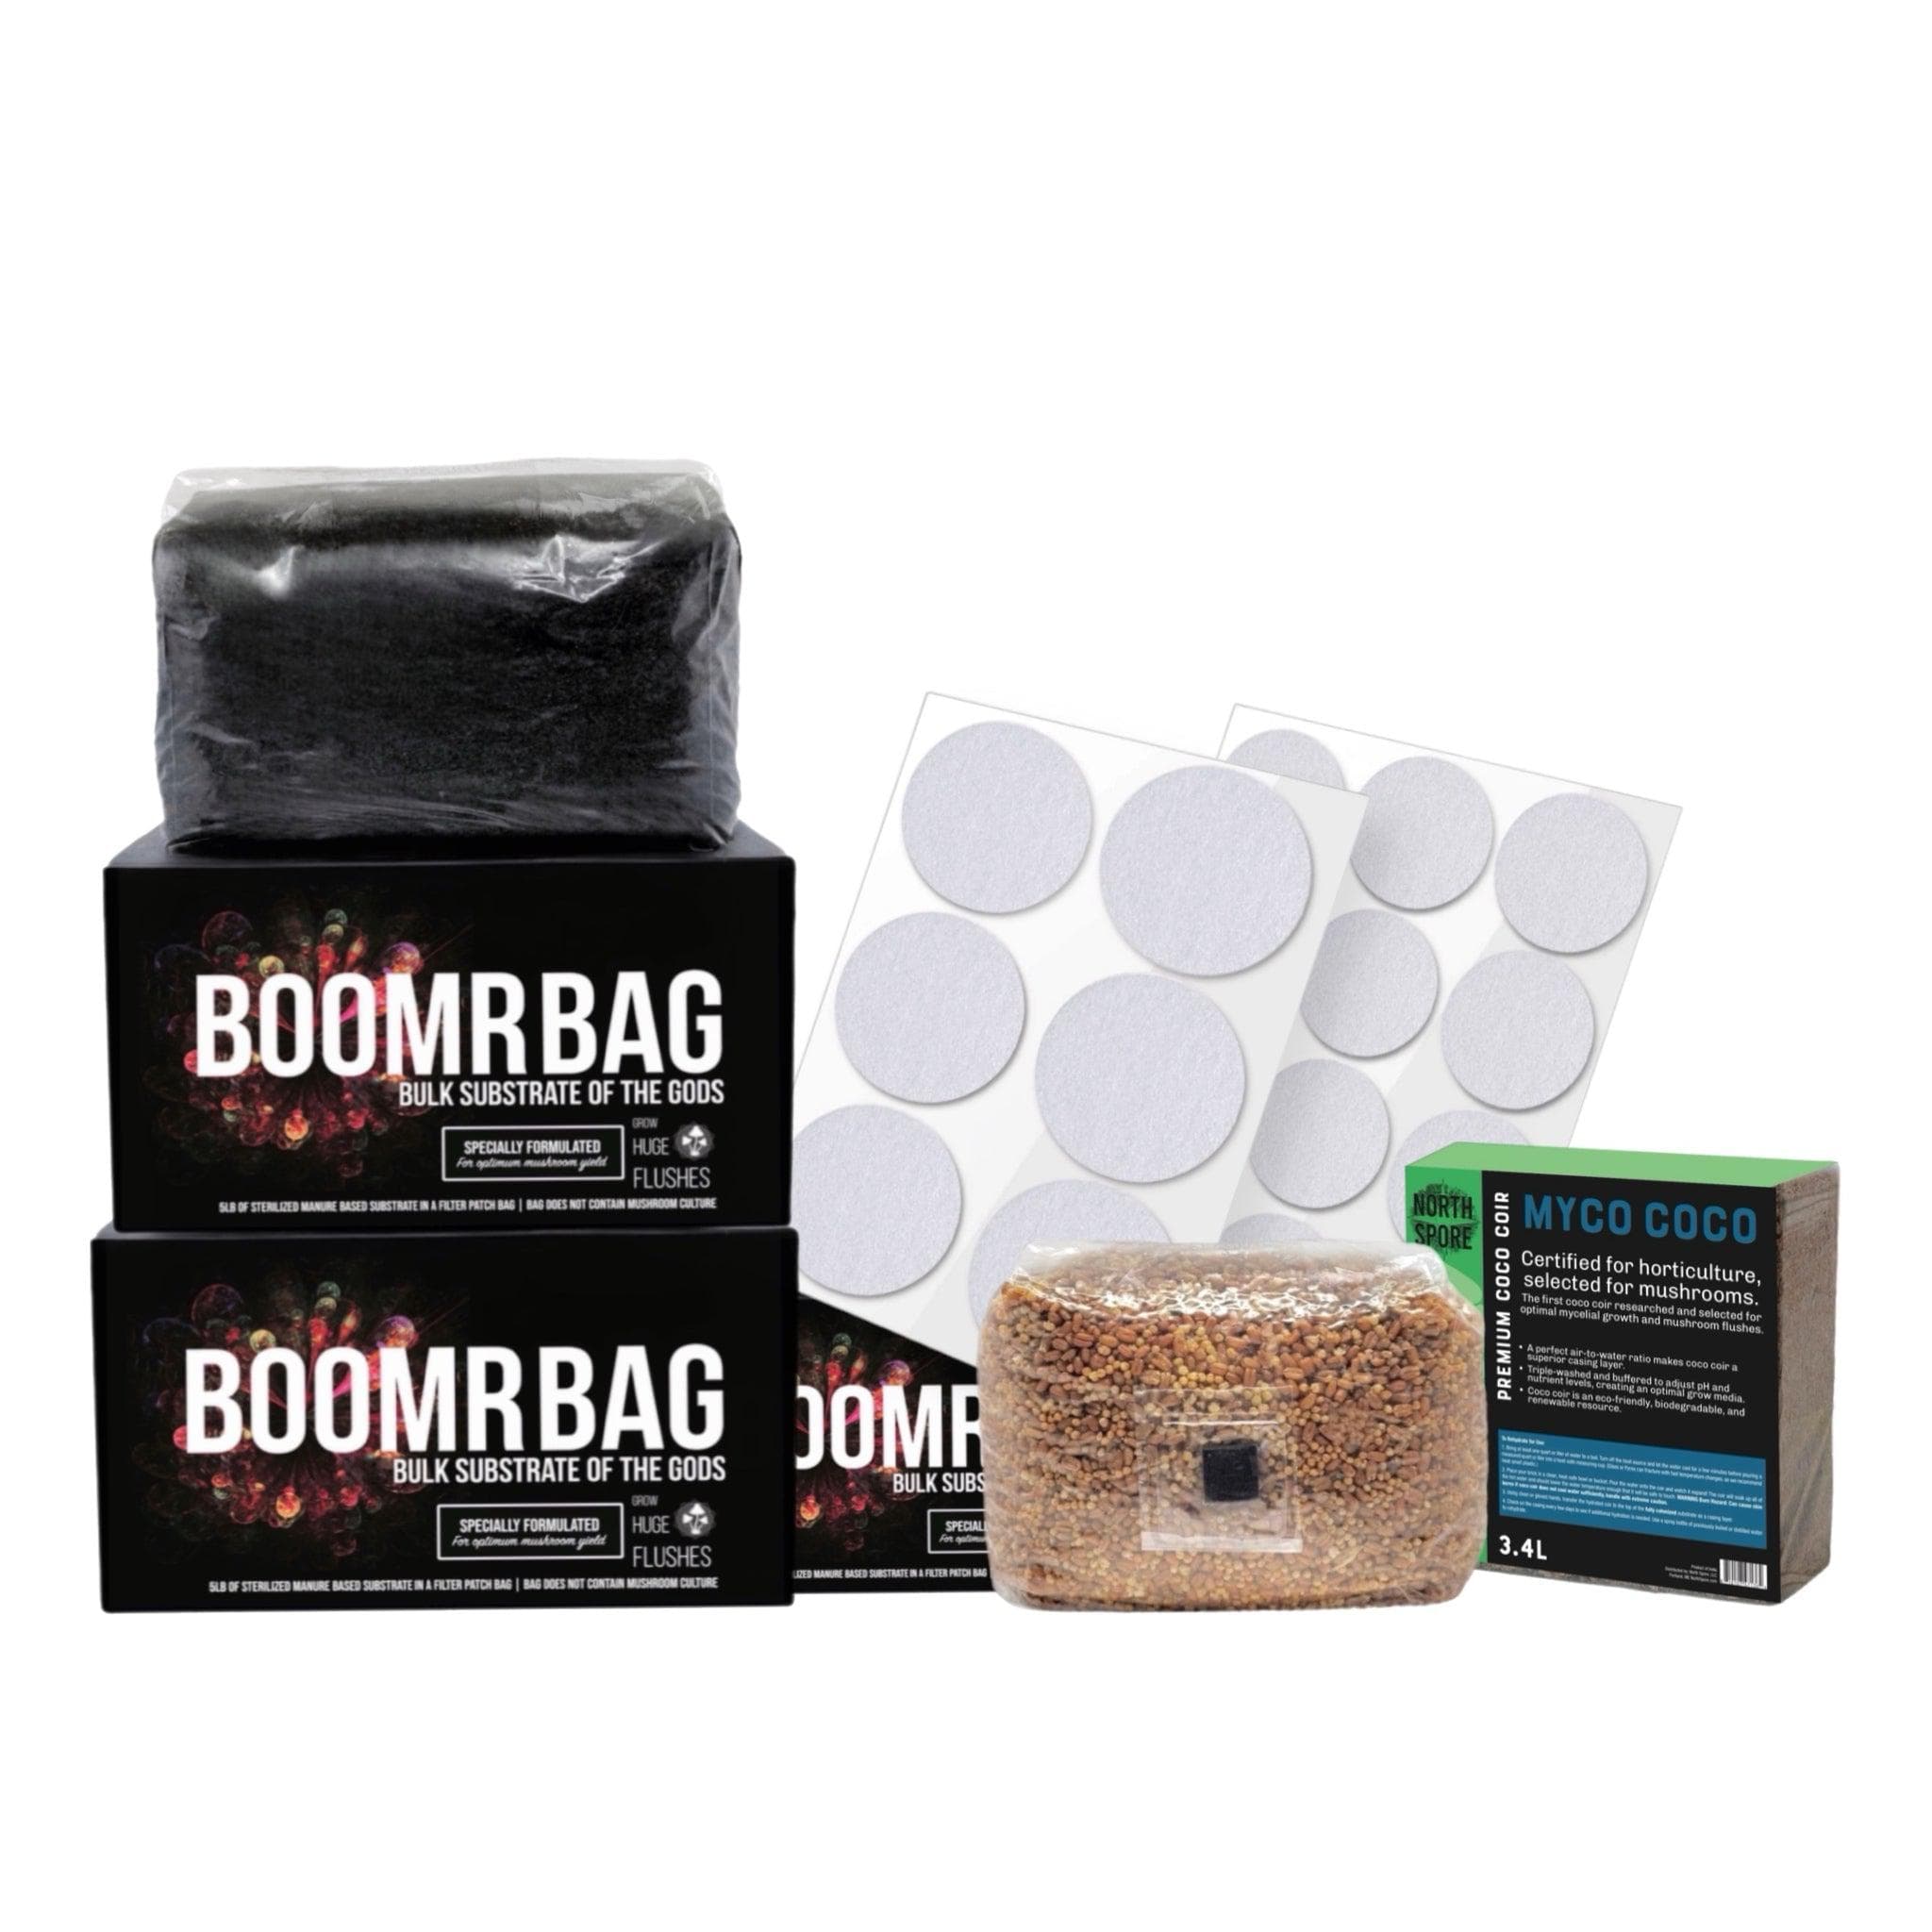
Credit: northspore.com
Frequently Asked Questions
What Size Tub Is Best For Monotub Tek?
A 66-quart (about 60 liters) clear plastic tub is ideal for most beginners. It balances space for airflow, humidity, and yield. Smaller tubs work for small grows, but larger tubs can be harder to manage.
How Do I Know If My Substrate Is At Field Capacity?
Squeeze a handful of prepared substrate. If only a few drops of water come out and it stays together but doesn’t drip, it’s at field capacity. Too much water leads to contamination, too little slows growth.
Can I Use Store-bought Mushrooms To Start A Monotub?
Most store mushrooms are not suitable, as they are often past their prime or treated to prevent regrowth. It’s best to buy spores or liquid culture from a trusted supplier.
How Many Flushes Can I Get From One Monotub?
You can usually get 2 to 4 flushes of mushrooms from one monotub. Each flush may yield less than the previous one as nutrients are used up.
What Should I Do With Spent Substrate?
After your last flush, the substrate can be composted or used as mulch in your garden. Do not reuse it for new mushroom grows, as it will not have enough nutrients and may carry contaminants.
Growing mushrooms with monotub tek is a rewarding and educational experience. With careful preparation, cleanliness, and attention to detail, even beginners can enjoy healthy, abundant harvests. As you gain confidence, you’ll find new ways to fine-tune your process and explore the fascinating world of mycology.