Mushroom cultivation is a fascinating blend of science, patience, and careful technique. For anyone looking to grow mushrooms successfully, one skill stands above the rest: mastering agar work. Agar is much more than a simple jelly in a dish—it’s a controlled environment where mushroom strains are cloned, cleaned, and multiplied. Whether you are a beginner or moving toward advanced mycology, understanding agar work is essential. In this guide, you’ll discover why agar is so important, how to clone mushrooms, perform transfers, and make your own recipes for the best results. Along the way, you’ll learn expert tips that can make or break your mycological journey.
Why Agar Work Is Crucial In Mushroom Cultivation
Agar work is at the heart of modern mushroom cultivation for several reasons. When you work with agar, you can select the strongest mushroom genetics, clean cultures from contaminants, and multiply your samples with high precision. Unlike growing mushrooms directly from spores, agar lets you see your progress at each step. You can spot mold or bacteria before it spreads and choose only the healthiest mycelium to grow. This control means higher yields, less risk, and better quality mushrooms.
Many commercial growers rely on agar techniques to maintain pure cultures for years. Without agar, it’s nearly impossible to keep mushroom genetics strong. For hobbyists, agar offers a window into the world of mycology. You’ll see how mycelium behaves, how it responds to different recipes, and what makes a mushroom strain thrive.
Understanding Agar: Basics And Benefits
Agar is a gelatinous substance derived from red algae, often sold as a powder. When mixed with water and nutrients, it becomes a firm medium where fungi can grow. Agar is not a food for the mushrooms—it’s the nutrients you add that feed the mycelium. The agar simply holds everything in place, creating a moist, stable environment. The most common nutrients used are malt extract, potato, and yeast, but there are many recipes to try.
The real power of agar is its clarity. When you pour agar into a dish, you can see every detail—white threads of mycelium, green spots of mold, or cloudy bacteria. This visibility is key for cloning and transfers. You can cut and move only the parts you want.
Agar also slows down contaminants compared to liquid media. While bacteria can swim in liquids, they move slowly through solid agar. This gives you a better chance to separate clean mycelium from unwanted invaders.
Essential Equipment For Agar Work
Before you start, you’ll need some basic tools. Investing in good equipment will make agar work easier, safer, and more successful. Here’s what you need:
- Pressure cooker or autoclave – For sterilizing agar and tools.
- Petri dishes – Glass or plastic; reusable glass is better for the environment.
- Agar powder – Food-grade is fine, but lab-grade is best for purity.
- Nutrient sources – Malt extract, potato flakes, yeast, peptone, or dog food.
- Scalpel or sharp blade – For precise cutting.
- Inoculation loop or needle – Helps transfer spores or mycelium.
- Alcohol lamp or lighter – Sterilizes tools between uses.
- Gloves and mask – Reduces contamination from your hands and breath.
- Still air box or flow hood – Protects agar plates from airborne contaminants.
- Parafilm or plastic wrap – Seals the dishes after inoculation.
A still air box is a simple homemade chamber. A flow hood is more expensive but gives better protection by blowing filtered air over your work area.
Preparing Agar: Recipes For Mushroom Cultivation
Choosing the right agar recipe is important. Some mushrooms prefer certain nutrients, and some recipes are better for cloning or isolating strains. Here are the most popular recipes, with instructions for making each one. All recipes below make about 1 liter (enough for 40–50 small Petri dishes).
1. Malt Extract Agar (mea)
This is the most widely used recipe for mushroom mycelium.
- 20 g agar powder
- 20 g malt extract
- 1 liter distilled water
Mix the agar powder and malt extract in cold water. Heat and stir until dissolved. Pour into bottles or jars and sterilize in a pressure cooker at 15 PSI for 20 minutes.
2. Potato Dextrose Agar (pda)
Popular for gourmet and medicinal mushrooms.
- 20 g agar powder
- 200 g potatoes (peeled and chopped)
- 20 g dextrose (glucose) or table sugar
- 1 liter distilled water
Boil potatoes in water until soft, then strain and keep the liquid. Add agar and dextrose to the potato broth. Heat until dissolved. Sterilize as above.
3. Yeast Malt Agar (yma)
Good for fast-growing mycelium, especially for cloning.
- 20 g agar powder
- 15 g malt extract
- 2 g yeast extract
- 1 liter distilled water
Dissolve all ingredients in water, heat, and sterilize.
4. Dog Food Agar (dfa)
An economical option for beginners.
- 20 g agar powder
- 10 g dry dog food
- 1 liter distilled water
Soak the dog food in water for 1 hour, then blend and strain. Add agar, heat, and sterilize.
5. Antibiotic Agar
Useful when working with wild clones to reduce bacteria.
- Start with any recipe above.
- After sterilization and cooling to 50°C, add gentamicin or another antibiotic at recommended levels.
Antibiotics help, but do not guarantee a sterile culture. Always transfer clean mycelium away from bacteria when you see it.
Comparing Agar Recipes
Here’s a comparison of the most used recipes:
| Recipe | Best For | Cost | Mycelium Speed |
|---|---|---|---|
| Malt Extract Agar | General cloning, transfers | Moderate | Fast |
| Potato Dextrose Agar | Gourmet, wild mushrooms | Low | Medium |
| Yeast Malt Agar | Cloning, fast growth | Moderate | Very Fast |
| Dog Food Agar | Beginners, low cost | Very Low | Medium |
| Antibiotic Agar | Dirty samples, wild clones | High | Slow (due to antibiotics) |
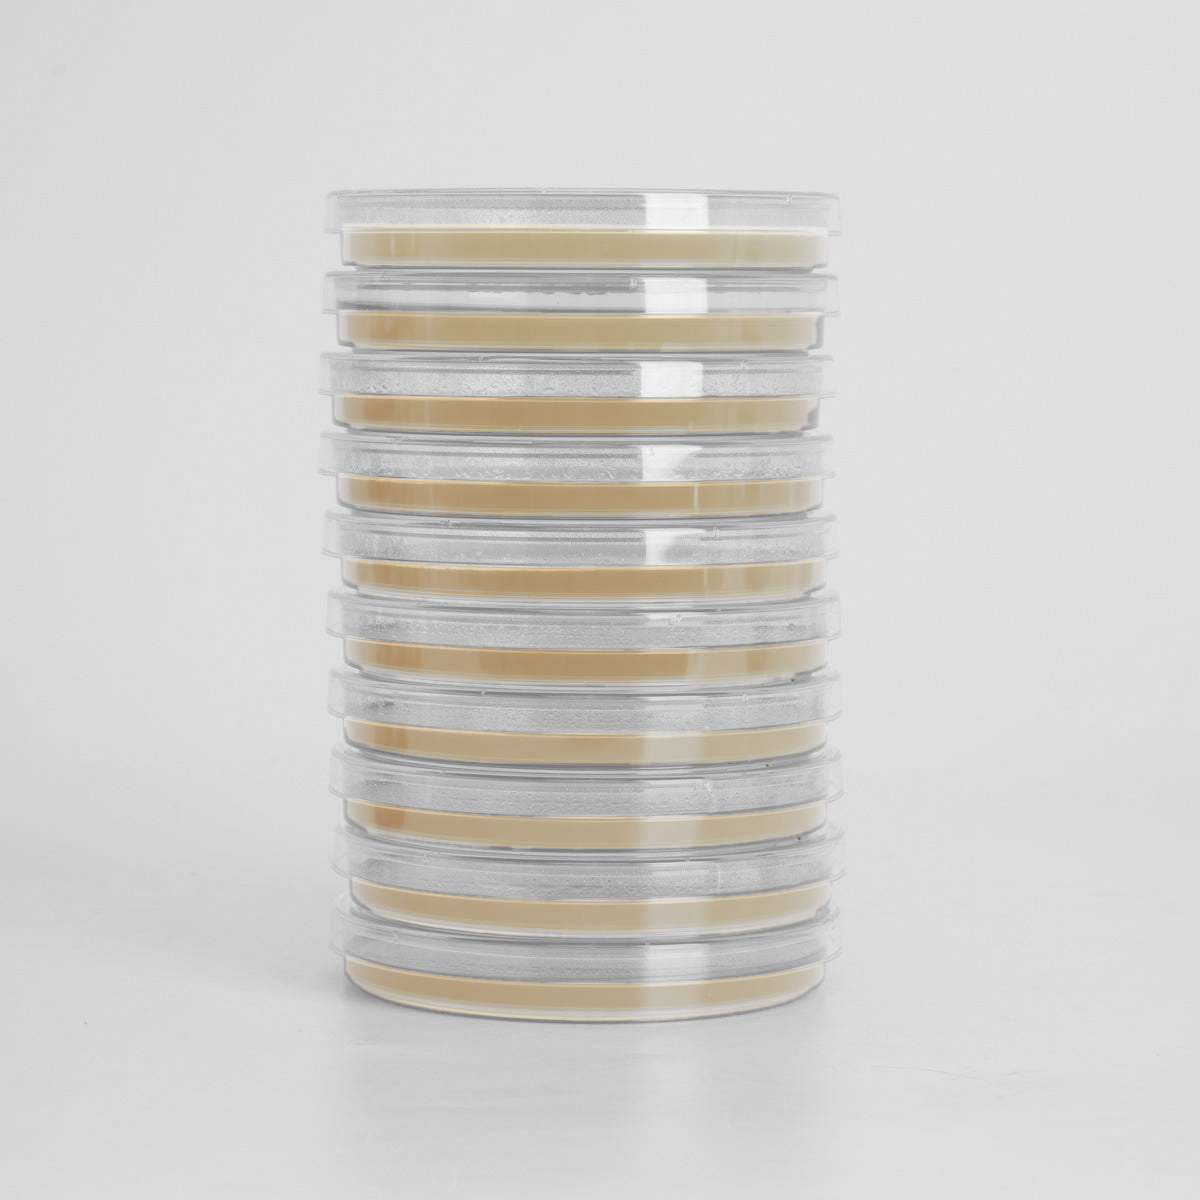
Pouring Agar Plates: Step-by-step
Pouring agar might feel intimidating at first. But with the right approach, you can do it successfully at home.
- Sterilize everything: Pressure cook your agar mix in bottles or jars. Make sure all Petri dishes, tools, and surfaces are clean.
- Set up your workspace: Use a still air box or flow hood to keep the area free from dust and spores.
- Cool the agar: Let the agar cool to about 45–50°C (warm but not solid). If too hot, it will steam and attract contamination. If too cold, it will start to gel.
- Pour plates: Open each Petri dish just enough to pour 15–20 ml of agar. Quickly close and stack them.
- Let them set: Leave the plates to cool and solidify for about 30 minutes.
- Seal and store: Wrap dishes with parafilm or plastic wrap. Store upside down in a clean fridge if not using immediately.
Pro tip: If you see condensation inside the lids, let the plates dry for a few hours in your clean workspace before sealing. Too much water encourages bacteria.
Cloning Mushrooms On Agar
Cloning is the process of taking a piece of living mushroom tissue and growing it out on agar. This creates a genetic copy of the mushroom, which you can use to grow more mushrooms with the same traits.
Why Clone?
Cloning is the best way to keep a mushroom’s desirable features—size, flavor, yield, or disease resistance. Spores produce genetic variety, but cloning gives you consistency. Commercial farms clone the best mushrooms to ensure every crop is as good as the last.
What Can Be Cloned?
Most fleshy mushrooms can be cloned, including oyster, shiitake, lion’s mane, and button mushrooms. Wild mushrooms can also be cloned, but they may carry more contaminants.
How To Clone Mushrooms: Step-by-step
- Select a fresh mushroom: The younger, the better. Avoid old or bruised specimens.
- Set up your workspace: Work in a still air box or flow hood. Wear gloves and a mask.
- Sterilize tools: Wipe your scalpel with alcohol, then flame until red hot. Let it cool.
- Open the mushroom: Tear (do not cut) the stem to reveal the inner tissue. Cutting can drag contaminants inside.
- Cut a small tissue piece: Use the scalpel to cut a rice-sized piece from the center of the stem.
- Transfer to agar: Quickly open a Petri dish, place the tissue in the center of the agar, and close the lid.
- Seal and label: Wrap the dish, label with the date and strain, and store at room temperature (20–25°C).
- Wait and observe: Mycelium should appear in 3–7 days.
Non-obvious insight: Always take tissue from the inner core, not the outer surface, to minimize bacteria and mold.
Troubleshooting Cloning Problems
- If bacteria grows: Transfer a clean section of mycelium to a new plate (see ‘Transfers’).
- If nothing grows: The tissue was too old or dried out. Try again with a fresher mushroom.
- If mold appears: Move a clean section away from the mold to a new dish.
Agar Transfers: Isolating Clean Mycelium
Transfers are the heart of agar work. Even if your first plate is not perfect, you can move a clean piece of mycelium to a fresh plate and leave contaminants behind.
Why Transfer?
- Isolate clean mycelium from bacteria and mold.
- Select fast-growing or healthy strains for better yields.
- Expand your culture for later use.
How To Perform A Transfer
- Examine the plate: Look for bright white, thread-like mycelium. Avoid areas with color, fuzz, or slime.
- Sterilize your workspace and tools as before.
- Cut a wedge: Flame your scalpel, cool, then cut a small triangle (1–2 mm) from the edge of healthy mycelium.
- Move to new plate: Open a fresh agar dish, place the wedge in the center, and close quickly.
- Seal and label: Note the date and transfer number (e.g., T1, T2).
Expert tip: Always transfer from the edge of the mycelium, not the center. The edge is growing fastest and is least likely to be contaminated.
How Many Transfers Are Needed?
Usually, 2–3 transfers are enough to clean a culture. If you still see contamination, keep transferring until you have a pure plate. Some wild mushrooms need 4–5 transfers.
Common Transfer Mistakes
- Cutting too close to contaminants: Always take from the opposite side of the plate.
- Using a dull blade: Clean cuts reduce the risk of dragging bacteria.
- Not sterilizing between plates: Flame your scalpel before every transfer.
When To Stop Transferring
A plate with smooth, white, fast-growing mycelium and no signs of other growth is ready for use. You can now use this culture to inoculate grain, make liquid culture, or store for later.
Identifying Contaminants On Agar
Learning to spot contamination is critical in agar work. Here are the most common types:
1. Bacteria
- Appearance: Cloudy, greasy, or shiny patches; often yellow or cream-colored.
- Smell: Sour or foul odor.
- Growth: Spreads quickly in moist areas, often around tissue pieces.
2. Mold
- Appearance: Green, blue, black, or pink fuzzy patches.
- Common molds: Trichoderma (green), Penicillium (blue-green), Aspergillus (black).
- Growth: Spreads in rings or tufts; often faster than mycelium.
3. Yeast
- Appearance: Creamy, white, or pink colonies; smooth texture.
- Growth: Speckled dots, usually slower than bacteria or mold.
How To Minimize Contamination
- Work quickly and cleanly.
- Flame-sterilize tools before every use.
- Avoid talking, coughing, or sneezing in your workspace.
- Store plates upside down to prevent condensation drops.
Practical insight: Always make extra plates. Even experienced growers lose 10–20% of dishes to contamination.
Storing And Using Agar Cultures
Once you have a clean, healthy culture, you need to store it properly or use it to start new mushroom projects.
Short-term Storage
- Store plates in the fridge (2–4°C) for up to 3 months.
- Wrap in parafilm or plastic to prevent drying.
- Label clearly with strain, transfer number, and date.
Long-term Storage
- Make slants: Pour agar into test tubes, inoculate, and seal. Cultures last up to 1 year.
- Use sterile water vials: Place clean mycelium in a vial of sterile water. Some strains last for years this way.
Using Agar Cultures
- Cut a wedge and use it to inoculate sterilized grain jars, liquid culture, or sawdust blocks.
- Always use clean, healthy mycelium for best results.
Advanced Agar Techniques
Once you master the basics, you can try more advanced methods to improve your results or experiment with different strains.
Sectoring For Strain Isolation
Sometimes mycelium grows in sectors—distinct lines or patterns on the agar. Each sector may represent a different genetic type. By transferring from a single sector, you can isolate the strongest or fastest-growing strains.
Testing For Performance
Not all mycelium is equal. By making several transfers and testing each on grain or sawdust, you can find which sector fruits best. This is how commercial growers develop high-yielding strains.
Adding Supplements
Some advanced growers add extra nutrients or pH buffers to agar to encourage certain mushrooms. For example, adding activated charcoal can help with stubborn wild clones. Adjusting pH with lime or citric acid can also make a difference.
Using Different Gelling Agents
While agar is the standard, some experiment with gellan gum or gelatin. These alternatives are less common, but may help in certain cases where agar is not available.

Credit: mycologysimplified.com
Common Problems And Solutions In Agar Work
Agar work can be frustrating for beginners. Here are some common issues and how to solve them.
Plates Won’t Solidify
- Too little agar powder was used. For 1 liter, always use 18–20 g.
- The agar was not boiled long enough to dissolve.
Agar Turns Cloudy
- The water was not pure. Use distilled water if possible.
- Caramelization from overheating. Heat only until dissolved.
Mycelium Grows Slowly
- Temperature is too low. Keep at 20–25°C for most species.
- Not enough nutrients. Try a different recipe.
Agar Dries Out
- Plates not sealed well. Use parafilm or wrap tightly.
- Stored too long in a dry fridge. Add a damp paper towel in storage box.
Insider tip: Always keep detailed notes. Record recipe, strain, date, and any problems. This helps you improve with each batch.
Safety And Cleanliness In Agar Work
Working with agar means working in a nearly sterile environment. Cleanliness is the best way to avoid contamination and failed cultures.
Personal Hygiene
- Wash hands and arms thoroughly before starting.
- Wear gloves and a mask.
- Tie back long hair.
Workspace Preparation
- Wipe all surfaces with alcohol or bleach.
- Let the air settle for 10–15 minutes before opening plates.
- Use a still air box or flow hood for every step.
Tool Sterilization
- Wipe with alcohol, then flame until red hot.
- Let the tool cool before touching mycelium.
Disposal
- Autoclave or pressure cook old plates before throwing away.
- Never open contaminated plates in your living space.
Non-obvious insight: Avoid air conditioning or fans near your workspace. Still air is safer than blowing air, which spreads contaminants.
Credit: mycopunks.com
Agar Work In Home Vs. Commercial Settings
The principles of agar work are the same for small and large growers, but the scale and precision change.
Home Growers
- Can use simple tools: Pressure cooker, still air box, reusable glass dishes.
- Cost is low, but contamination risk is higher.
- More flexibility to experiment with recipes and strains.
Commercial Growers
- Use flow hoods, autoclaves, and high-grade agar.
- Often work with hundreds of plates at once.
- Strict protocols for hygiene and documentation.
- Develop proprietary strains and keep master cultures for years.
Comparing Home And Commercial Agar Work
| Aspect | Home Cultivation | Commercial Scale |
|---|---|---|
| Equipment Cost | Low | High |
| Contamination Risk | High | Low |
| Strain Management | Manual, few strains | Automated, many strains |
| Output Volume | Small scale | Large scale |
Agar For Beginners: Getting Started With Low Cost
You do not need a laboratory to start agar work. Many home growers use simple DIY methods:
- Make a still air box from a clear plastic tote.
- Use baby food jars instead of Petri dishes.
- Use a small pressure cooker for sterilizing.
Dog food agar is the cheapest recipe, and works well for most common mushrooms. Start with easy species like oyster mushrooms, which grow fast and tolerate mistakes.
Practical tip: Practice pouring agar with plain water first. This builds confidence before using real agar.
Real-world Examples: Agar Success And Failure
To understand agar work, it helps to look at real examples.
Success Story: Cloning A Wild Oyster Mushroom
A grower finds a large oyster mushroom on a fallen tree. Using a still air box, he tears the stem and transfers a tiny piece to MEA plates. After four days, strong white mycelium appears. He makes two transfers to clean plates, then uses the pure culture to inoculate grain.
In three weeks, he harvests over 1 kilogram of mushrooms—identical to the wild one.
Failure Story: Contaminated Shiitake Clone
Another grower tries to clone shiitake from a supermarket. The mushroom is old and has been refrigerated. She cuts from the cap, not the stem, and doesn’t flame the scalpel. After five days, mold and bacteria overrun the plate. No mycelium appears.
She learns to use fresh tissue and better hygiene for her next attempt.
Takeaway: Success depends on careful technique and attention to detail.
When To Move From Agar To Grain Or Liquid Culture
After you have a pure agar culture, you can expand it to larger volumes:
- Grain jars: Place a clean agar wedge in a sterilized jar of wheat, rye, or millet. The mycelium will colonize the grain in 7–14 days.
- Liquid culture: Place a wedge in a sterile jar of sugar water. Shake every few days. Use to inoculate grain or sawdust.
- Sawdust spawn: Used for wood-loving mushrooms like shiitake.
Always use fast-growing, pure mycelium for best results. Slow or weak mycelium may be sick or contaminated.

Credit: www.youtube.com
Agar Work: Building Blocks For Advanced Mycology
Once you master agar, you can try more advanced projects:
- Creating hybrid strains by crossing two cultures.
- Testing for contamination resistance by exposing to bacteria.
- Long-term strain storage for future use.
Agar work is the foundation for tissue culture, genetic improvement, and commercial mushroom production.
Useful Resources For Further Learning
There are many books, videos, and websites on agar work. For a deeper dive, the book “Growing Gourmet and Medicinal Mushrooms” by Paul Stamets is a classic. You can also find community advice on forums like Shroomery and MycoTek.
For research articles and official protocols, see the Wikipedia page on agar plates.
Frequently Asked Questions
What Is The Best Agar Recipe For Beginners?
Most beginners start with malt extract agar (MEA). It’s simple, reliable, and supports fast mycelium growth for most species. If cost is a concern, dog food agar is a good alternative.
How Do I Know If My Agar Plate Is Contaminated?
Watch for non-white growth—green, black, yellow, or slimy patches are contamination. Bacterial contamination looks shiny or wet. Mold is fuzzy. Only pure, white, thread-like mycelium is safe.
Can I Clone Store-bought Mushrooms?
Yes, if they are fresh and not cooked. The tissue must be alive. Older, bruised, or dried mushrooms often fail. Take tissue from the inside of the stem for best results.
How Long Does It Take For Mycelium To Grow On Agar?
Most mushrooms appear in 3–7 days at room temperature. Some wild species may take up to 2 weeks. If nothing grows after 14 days, try again with fresher tissue or check your recipe.
Is Agar Work Necessary For Mushroom Cultivation?
Agar work is not required, but it is highly recommended. It lets you select clean, strong mycelium, avoid contamination, and produce better crops. For consistent results and advanced techniques, agar is essential.
Agar work transforms mushroom cultivation from guesswork into a repeatable science. With practice, you’ll unlock new possibilities—from cloning wild mushrooms to developing your own strains. Start simple, stay clean, and let each plate teach you something new. The journey with agar is just beginning.