
Spore Printing 101: How To Collect And Store Mushroom Spores
The world of mushrooms is full of hidden wonders, and one of the most fascinating is the humble mushroom spore. For beginners and experts alike, spore printing is the gateway to exploring the genetics, identification, and even cultivation of fungi. This simple but powerful method lets you capture the blueprint of a mushroom, all from your kitchen table. Whether you are interested in cultivating rare mushrooms, contributing to citizen science, or simply admiring nature’s patterns, learning to collect and store spore prints opens up a new world.
But many newcomers make mistakes that ruin their prints or even risk contamination. The good news? With a few simple tools, a careful approach, and some insider tips, anyone can master the art of spore printing. In this guide, you’ll find everything you need: step-by-step instructions, practical storage methods, and answers to the most common questions. We’ll also highlight the details most guides miss, so you can avoid common pitfalls and create spore prints you’re proud to share.
What Are Mushroom Spores And Why Collect Them?
Understanding the basics helps you see why spore printing is so important. Spores are the reproductive units of fungi, similar to seeds in plants. Each tiny spore can create a new mushroom, given the right conditions. They are produced in large numbers and are often released from the gills or pores under a mushroom cap.
If you look at a mushroom cap closely, you’ll notice the gills or pores are often hidden beneath the surface. These structures are designed to maximize the number of spores a mushroom can produce. A single mature mushroom can release millions—even billions—of microscopic spores into the air.
Unlike seeds, spores are so small that you can’t see them individually, but when collected in a spore print, their color and arrangement become clear.
Why Spore Prints Matter
- Identification: Many mushrooms look similar, but their spore colors are different. A spore print can help you tell safe mushrooms from toxic ones.
- Cultivation: To grow mushrooms, you need spores. A spore print is the first step to creating your own mushroom colony.
- Preservation: Collecting spores from rare mushrooms helps conserve species and share them with others.
- Art and Science: Spore prints are not only useful—they’re beautiful. The patterns reveal the structure of the mushroom, and some people collect them for art.
It’s important to note that some edible and poisonous mushrooms look almost identical at first glance. For example, the Lepiota genus contains both edible and deadly species, but the spore color can quickly reveal which is which.
Examples In Practice
Mycologists (mushroom scientists) often use spore prints to confirm the identity of a mushroom. For example, the deadly Amanita phalloides (death cap) has a white spore print, while the edible Agaricus bisporus (button mushroom) has a brown one. Without a spore print, confusing these two could have fatal results.
In another example, many species of Psilocybe mushrooms are identified by their purple-brown spore prints. This detail is so important that field guides often list spore color as a key feature for identification. For wild mushroom foragers, confirming spore color can prevent dangerous mistakes.
Tools And Materials Needed For Spore Printing
Making a good spore print does not require expensive equipment, but using the right materials improves your success rate. Here’s what you need:
- Fresh mushroom cap: Choose one with mature, open gills or pores.
- Paper: Use white, black, or glass slides, depending on the spore color.
- Glass or plastic cup: To cover the mushroom cap and prevent contamination.
- Scalpel or sharp knife: For cutting the cap cleanly.
- Sterile gloves or clean hands: To reduce contamination risk.
- Tweezers: Optional, for handling the mushroom cap.
- Aluminum foil: For making portable, long-lasting prints.
- Labels and pen: To identify your prints later.
- Ziplock bags or airtight containers: For storing finished prints.
Having the right tools on hand makes the process smoother and reduces the risk of damaging delicate mushroom gills or introducing contaminants. If you plan to make multiple prints, prepare extra sheets of paper, foil, or slides so you can collect several samples at once.
This is especially useful if you’re working with mushrooms from different locations.
Choosing The Right Paper Or Surface
- White paper: Best for dark-spored mushrooms like Agaricus or Psilocybe.
- Black paper: Best for white-spored mushrooms like Amanita or Lepiota.
- Glass slides: Useful for microscope work and archiving.
- Aluminum foil: Good for long-term storage and for transferring spores to other media.
Some advanced collectors use a combination of surfaces for each print to maximize their options for later study. For example, you might place half a cap on white paper and half on foil. This way, you get a print for both identification and storage.
Pro Tip: Avoid using regular colored paper. Dyes or chemicals in the paper can interfere with the print or react with the spores.
Preparing For Spore Collection
Preparation is key to making successful, clean spore prints. Many beginners skip this step, leading to contamination and frustration. Take the time to set up your workspace properly.
A little attention at this stage saves time later. If you’re working outdoors, try to find a sheltered spot with little wind or dust. If you’re inside, choose a clean table or countertop. Some people use a plastic tray or large cutting board as a dedicated workspace to keep things organized.
Cleaning And Selecting Your Mushroom
- Pick a fresh cap: Older mushrooms may have already released their spores.
- Check for damage: Avoid caps with insect holes or mold.
- Clean gently: Brush off dirt with a soft brush or paper towel. Do not wash with water, as excess moisture can cause the cap to rot.
If you find a perfect mushroom in the wild, collect it in a clean paper bag or basket. Avoid using plastic bags for collection, as these can trap moisture and promote spoilage before you get home.
Setting Up A Clean Workspace
- Wipe down surfaces: Use alcohol wipes or soapy water to clean your table.
- Wash your hands: Or wear sterile gloves.
- Limit airflow: Close windows, turn off fans, and avoid sneezing or coughing near your materials.
Even small actions, like tying back long hair or wearing a simple face mask, can help reduce contamination. If you are making prints for cultivation, these extra steps matter even more.
This step reduces the chance of bacteria or mold contaminating your spore prints, which is especially important if you plan to use them for cultivation.
Step-by-step Guide To Making A Spore Print
With your materials ready, you’re set to collect your first spore print. The process is simple but requires patience and attention to detail.
1. Remove The Mushroom Stem
Hold the mushroom cap gently. With a scalpel or sharp knife, slice off the stem as close to the gills or pores as possible, leaving a flat surface. Be careful not to damage the gills.
A clean cut is important—the more even the surface, the better the contact with your collection material. If the stem breaks unevenly, trim it flat with your knife.
2. Place The Cap On The Paper Or Foil
Set the cap, gill-side down, onto your chosen surface (paper, foil, or glass). For best results, make several prints on different colors of paper.
If you’re unsure about the spore color, making prints on both white and black paper side by side can help reveal even faint colors. Make sure each cap is centered and stable, so it doesn’t tip or slide during printing.
3. Cover The Mushroom Cap
Cover the cap with a glass or plastic cup. This keeps out dust and insects and helps retain moisture, which is necessary for spore release.
A clear cup or bowl works best because you can check for condensation without disturbing the setup. Avoid using a cup that has been used for food or drinks, as residues can attract contaminants.
4. Wait Patiently
Leave the covered cap undisturbed for 6 to 24 hours. Some mushrooms release spores quickly, while others take longer. Do not move or lift the cup during this time.
Insider Tip: For very dry environments, place a few drops of water on top of the mushroom cap (not on the gills). This adds humidity and can improve spore release.
It’s tempting to check early, but patience pays off. If you’re working with several caps, stagger their start times to keep things organized.
5. Remove The Cap Carefully
After waiting, lift the cup and gently remove the mushroom cap. You should see a pattern of spores on the paper or foil, matching the arrangement of the gills or pores.
Use clean tweezers or gloves if you need to move the cap. The print is delicate at this stage, so avoid blowing on it or touching the surface.
6. Let The Print Dry
Allow the spore print to air dry for at least 30 minutes before handling. This prevents smudging and helps preserve the print.
If you’re in a humid climate, you may need to wait longer. Placing the print in a clean, covered container with a few grains of rice or a silica gel packet nearby can help speed up drying without disturbing the spores.
7. Label Your Print
Write the date, mushroom species (if known), and location on the edge of the paper or foil. Accurate labeling is important for science and sharing.
Include any notes about the mushroom’s appearance or where you found it. These details can be valuable later, especially if you discover something unusual.
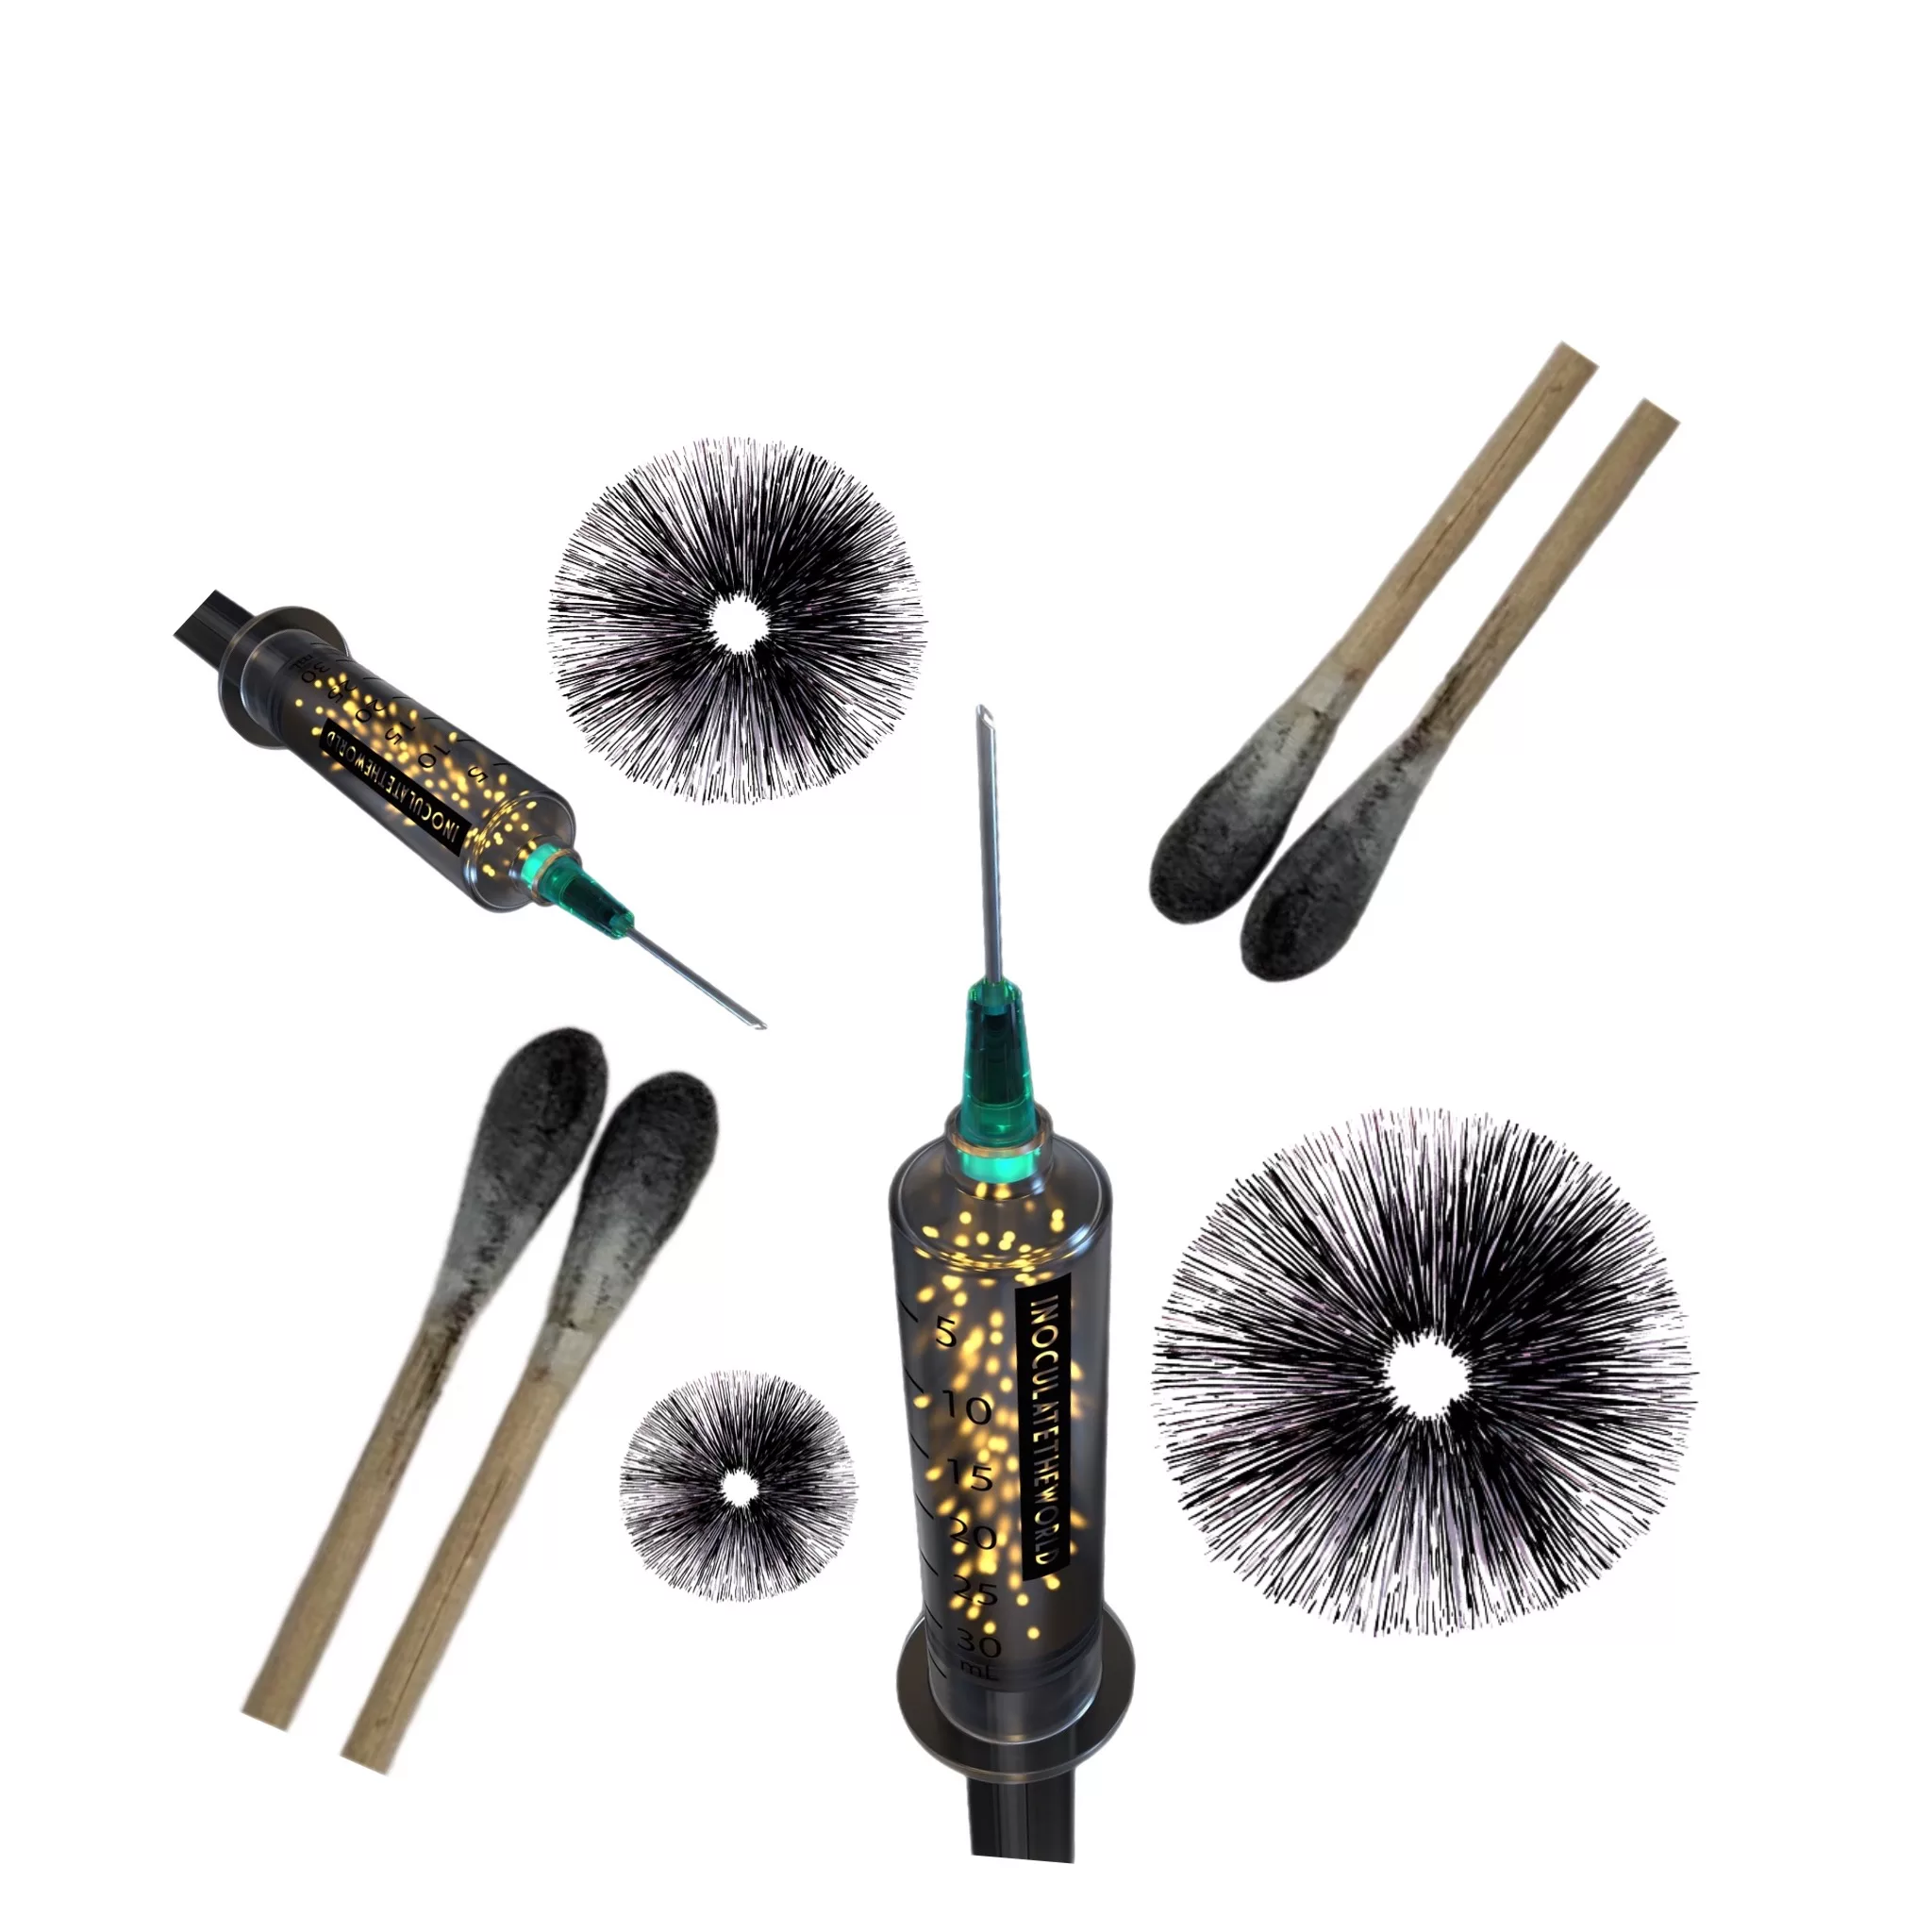
Credit: inoculatetheworld.com
Storing Mushroom Spore Prints
Proper storage keeps your spore prints viable for months or even years. Spores are tough, but moisture and contamination can destroy them quickly.
Short-term Storage
- Dry completely: Make sure prints are fully dry before storage.
- Use clean envelopes: Store prints in clean paper envelopes or between sheets of paper.
- Keep cool and dry: Store in a drawer or box away from sunlight and humidity.
For extra protection, some collectors add a slip of wax paper between prints, or place each print in its own small resealable bag.
Long-term Storage
For prints you want to keep for years or use in cultivation, extra care is needed.
- Aluminum foil prints: Once dry, fold the foil print in half (spore side in) to protect the spores.
- Airtight containers: Place foil packets or glass slides in a ziplock bag or airtight jar with silica gel packets to absorb moisture.
- Refrigeration: For maximum longevity, keep spore prints in the refrigerator. Do not freeze, as this can damage the spores.
A little organization now can save you time later. Arrange your prints by species or collection date, and keep an inventory list. This is especially helpful if you plan to share or trade with others.
Storage Comparison
Here’s a quick look at common storage options:
| Storage Method | Longevity | Protection from Contamination | Ease of Use |
|---|---|---|---|
| Paper Envelope | 6-12 months | Low | Easy |
| Foil in Ziplock | 1-3 years | Medium | Moderate |
| Foil with Silica Gel | 3-5 years | High | Moderate |
| Glass Slide in Fridge | 3-8 years | Very High | Difficult |
Avoiding Common Storage Mistakes
- Never store wet prints: Moisture leads to mold and bacteria growth.
- Don’t freeze: Freezing can rupture spore cells.
- Don’t store with fresh mushrooms: Ethylene gas from fresh mushrooms can damage spores.
- Label everything: Unlabeled prints quickly become useless.
If you notice condensation inside your storage container, remove the prints and dry them again before resealing. Checking your prints every few months helps catch problems early.
Using Spore Prints For Cultivation
Spore prints are the starting point for growing your own mushrooms. They contain all the genetic material needed to start a new colony. However, not all prints are suitable for growing. Here’s how to use your spore prints for cultivation:
Making A Spore Syringe
A spore syringe is a sterile solution containing mushroom spores, used to inoculate growing medium. Here’s the process:
- Sterilize equipment: Use a pressure cooker to sterilize water and syringes.
- Scrape spores into water: Using a sterile scalpel, scrape some spores from the print into the sterile water.
- Fill the syringe: Draw the spore-water solution into the syringe.
- Store in fridge: Keep the syringe in the fridge until you’re ready to use it.
If you don’t have a pressure cooker, you can boil water and syringes for at least 30 minutes, but true sterilization is best. Always let everything cool before adding spores.
Inoculating Substrate
- Inject the spore solution into sterilized substrate jars or bags.
- Keep the containers in a warm, dark place.
- Wait for mycelium (the mushroom root system) to grow.
Different mushrooms require different substrates. For example, oyster mushrooms grow well on straw or coffee grounds, while button mushrooms prefer compost. Research the best substrate for your species.
Key Factors For Success
- Sterility is critical: Even a tiny amount of bacteria can ruin your grow.
- Use fresh prints: Older prints may have lower spore viability.
- Document your process: This helps you improve with each attempt.
Some growers keep a simple logbook to track which prints gave the best results. Over time, you’ll learn which mushrooms produce the most reliable spores.
Cultivation Comparison
Here’s a quick side-by-side of two common methods:
| Method | Difficulty | Yield Potential | Contamination Risk |
|---|---|---|---|
| Spore Syringe | Moderate | High | Medium |
| Liquid Culture | High | Very High | High |
Insider Tip: Many beginners fail by skipping sterilization steps. Even invisible dust can ruin your project. Use a still-air box or work in a clean area.
Spore Prints For Identification And Science
Not everyone collects spore prints for cultivation. For many, identification and science are the main goals.
Identification
- Spore color: Is often the key to distinguishing between lookalike species.
- Shape and size: Advanced users examine spores under a microscope.
- Pattern: The arrangement of spores can reveal the structure of the gills or pores.
A detailed spore print, combined with field notes and photos, gives you a “mushroom fingerprint. ” This is especially useful in regions where many species look alike.
Artistic Uses
Some people use spore prints to create unique art. The natural patterns are often beautiful and can be preserved by spraying with clear fixative.
Experimenting with overlapping prints or using colored backgrounds can create striking effects. Some artists even use mushroom spore prints as part of larger mixed-media pieces.
Citizen Science
Amateur mycologists often send spore prints to labs or upload information to online databases, helping track mushroom populations and biodiversity.
Some universities and nature groups welcome spore prints from local collectors, especially from rare or poorly documented species. This helps scientists monitor changes in local fungi.
Example
The Psilocybe genus, famous for its psychoactive species, is often identified by its purple-brown spore print—a critical step before any further analysis.
Advanced Spore Printing Techniques
Once you’ve mastered the basics, you might want to try advanced methods. These techniques increase sterility and print quality, especially for cultivation or scientific research.
Printing In A Still-air Box
A still-air box is a plastic container with hand holes, used to keep the air clean.
- Place all materials inside
- Wipe down with alcohol
- Work quickly and carefully
This reduces contamination from airborne microbes.
A still-air box is easy to make with a large clear plastic storage bin. Cut two hand holes near the base, smooth the edges, and you have a simple clean workspace for spore work.
Printing On Agar
Agar plates (gelatin-like substance in petri dishes) can be used instead of paper or foil.
- Place the mushroom cap on the agar
- Cover and wait 12-24 hours
- Remove cap and seal the plate
This method is used for cloning and lab research.
Agar prints allow you to isolate clean spores or even single spore lines. This is a powerful way to start pure cultures for mushroom breeding.
Spore Print Layering
For rare mushrooms, you can make layered prints: make a print on foil, then press another cap on top to increase spore numbers. This is useful when spore output is low.
Layering works best if both caps are from the same species and collected at the same stage of maturity. Take care not to break up the print during layering.
Spore Print Color Chart
Comparing spore print colors is important for identification. Here’s a simple reference:
| Mushroom Genus | Typical Spore Print Color | Edibility |
|---|---|---|
| Agaricus | Chocolate Brown | Edible/Poisonous |
| Amanita | White | Mostly Poisonous |
| Psilocybe | Purple-Brown | Psychoactive |
| Lepiota | White | Poisonous |
| Coprinus | Black | Edible/Poisonous |
.jpg)
Credit: www.pbsutah.org
Troubleshooting Common Problems In Spore Printing
Even experienced collectors encounter issues. Here are the most frequent problems and how to solve them.
No Spore Print Appears
- Mushroom too young or old: Choose caps with open, mature gills.
- Too dry: Add moisture, or try in a more humid environment.
- Wrong side down: Make sure the gill or pore side is facing the paper.
Also, some mushrooms simply do not produce many visible spores, even when mature. If you suspect this, try another specimen or species.
Contaminated Prints
- Dirty workspace: Clean surfaces and hands before starting.
- Wet prints: Dry prints completely before storage.
- Cover not sealed: Make sure the cup covers the cap fully.
If you see fuzzy spots or odd smells, discard the print or use it only for art. Contamination is most common in warm, humid conditions.
Faint Or Patchy Prints
- Low spore output: Some species naturally produce fewer spores.
- Short collection time: Try leaving the cap for 24 hours.
- Cap not flat: Trim the stem evenly for full contact.
Pressing lightly on the cap (without crushing it) can help improve contact, but don’t damage the gills.
Print Smudges Or Sticks
- Not dry: Give more drying time.
- High humidity: Use silica gel packets to absorb moisture.
If prints stick to foil, you can gently cool the print in the refrigerator for 10 minutes, which sometimes helps it release.
Insider Tip: If your print gets contaminated, do not use it for cultivation. However, you can still use it for art or identification (with caution).
Legal And Safety Considerations
Before collecting or sharing spore prints, it’s important to know the laws and safety rules in your area.
Legal Status
- In many countries, spore prints of psychoactive mushrooms (like Psilocybe) are regulated or banned. Research your local laws before collecting or sharing.
- For edible or non-psychoactive mushrooms, spore printing is usually legal.
Laws can change quickly. What’s legal in one place may not be in another, so always check up-to-date resources before mailing or trading prints.
Safety
- Never taste or eat wild mushrooms based only on spore prints.
- Always use gloves or wash hands after handling unknown mushrooms.
- Label all prints clearly, especially if you share with others.
Some wild mushrooms contain toxins that can be absorbed through skin or inhaled as dust. When working with unknown species, consider wearing a mask as an added safety step.
For more information about mushroom identification and legal considerations, see the Wikipedia spore print page.
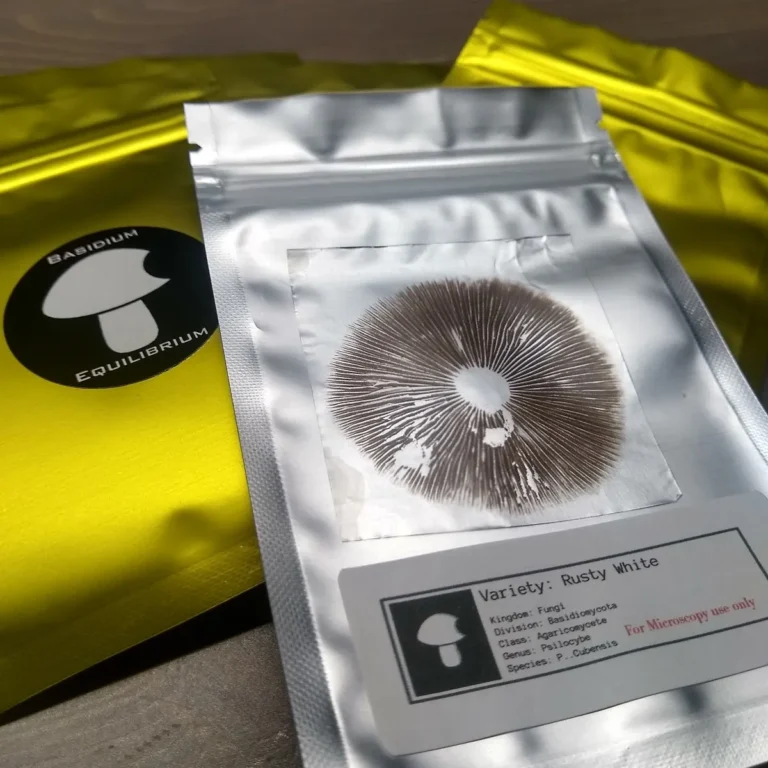
Credit: www.basidiumequilibrium.com
Practical Applications Of Spore Printing
Spore prints are not just for identification or growing mushrooms. Here are some creative and practical uses:
Sharing And Trading
Many mushroom enthusiasts trade spore prints online or at local clubs. This helps preserve rare species and build community.
It’s common to see “spore print swaps” in online forums. Always package prints carefully, include full labels, and never send or receive species banned in your region.
Teaching And Education
Spore prints are a great way to teach kids or students about biology, reproduction, and nature’s diversity.
For classroom use, making spore prints is a fun science project. Students can observe differences in spore colors, compare patterns, and learn about mushroom anatomy in a hands-on way.
Artistic Projects
Some artists use spore prints to make greeting cards, wall art, or even jewelry. The natural symmetry and color can be stunning.
Try layering prints from different species, or using metallic foil for a unique background. Spore prints can also be scanned and edited digitally for graphic design.
Citizen Science And Conservation
Contributing spore prints to scientific projects helps document local species, especially in areas where mushrooms are disappearing.
Some conservation groups use spore prints to help restore native fungi to woodlands or parks. Your prints could help future generations enjoy a richer natural world.
Insider Tip: Always keep a master copy of rare or valuable prints. If you trade or share, you might not get them back!
Frequently Asked Questions
What Is A Spore Print, And Why Is It Important?
A spore print is a pattern made by mushroom spores that fall from the gills or pores onto a surface. It helps with identification, cultivation, and conservation of mushrooms. Spore prints reveal spore color, which is a key identification feature.
How Long Do Mushroom Spore Prints Stay Viable?
If stored in a cool, dry, and dark place (especially in airtight containers with silica gel), spore prints can stay viable for up to 5 years or longer. Humidity and light reduce their lifespan.
Can I Make A Spore Print From Any Mushroom?
Most gilled and pored mushrooms can make spore prints. However, some tough or old mushrooms may not release enough spores, and some species (like puffballs or morels) do not make prints in the same way.
What Can I Do If My Spore Print Has Mold Or Bacteria?
Contaminated prints should not be used for cultivation. You can still use them for identification or art, but always handle with care and do not store with clean prints.
Is It Legal To Collect And Store Mushroom Spore Prints?
The law depends on your location and the species. Spore prints of edible and non-psychoactive mushrooms are usually legal. Prints from psychoactive species (like Psilocybe) may be restricted. Always check your local laws before collecting or sharing.
Collecting and storing mushroom spore prints is a rewarding hobby that connects you to the hidden world of fungi. With care, patience, and attention to detail, you can create beautiful prints that serve science, art, and even future harvests. Every print is a new discovery—so enjoy the process and share your spores with the world.